How to Use the Informative Module of Ai Buster?
Hey there! Welcome to another article module about our awesome tool, AI Buster. This tool has a really cool module called “Write Informative Article” which we’re going to talk about today. This module is super popular and it’s all about turning a simple keyword into an amazing article full of useful information. It even adds cool pictures and videos to make it even better!
TRUSTED BY GLOBALLY


Getting Started with the Write Informative Article Module
To begin, access the AI Buster platform by logging into your account. Once inside, navigate to the “Write Informative Article” menu, where you’ll be greeted with two options:
- Generate Bulk Articles
- Write Single Info Article
To use the AI Buster tool on your website, you must connect it by accessing the website menu. If you’re unsure how to link your WordPress website to the AI Buster tool, you can refer to the article “How to connect your WordPress website to the AI Buster Tool?” for guidance.
After successfully connecting your website, you can publish content using the AI Buster tool. You have two options for publishing content: bulk articles or single articles. In this example, we will demonstrate how to publish bulk articles.
However, there are some important features for single articles which we will discuss below.
Generate Bulk Articles
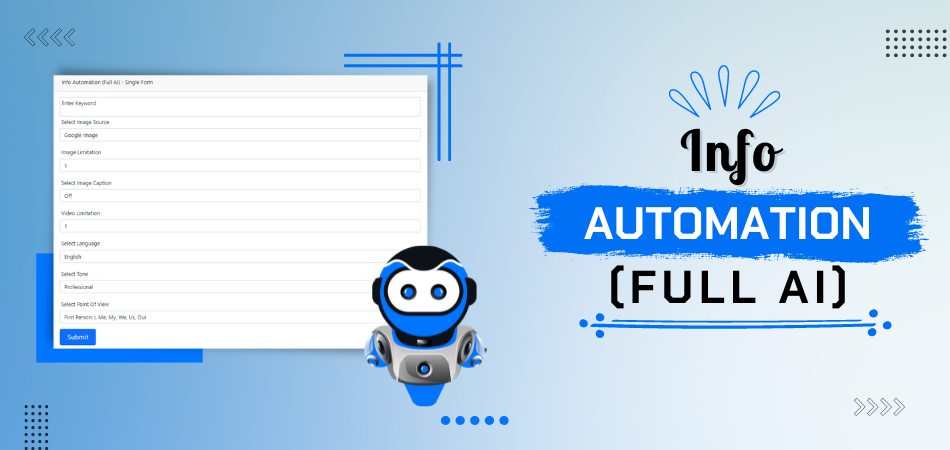
If you aim to publish multiple articles simultaneously, select the “Generate Bulk Articles” option. This will trigger the appearance of 22 specific fields on your screen:
Step-by-Step Guide
Step-1: Select Model: First, select which model you want to use. We recommend using the GPT-4 version.
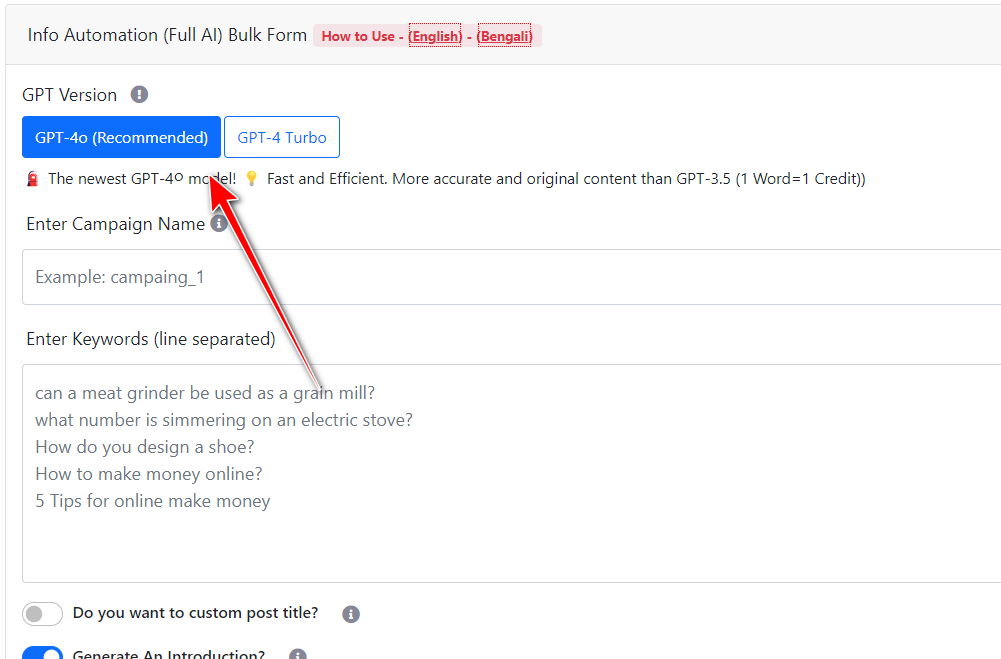
Step-2: Campaign Name: Enter your campaign name. Make sure to provide a unique campaign name.
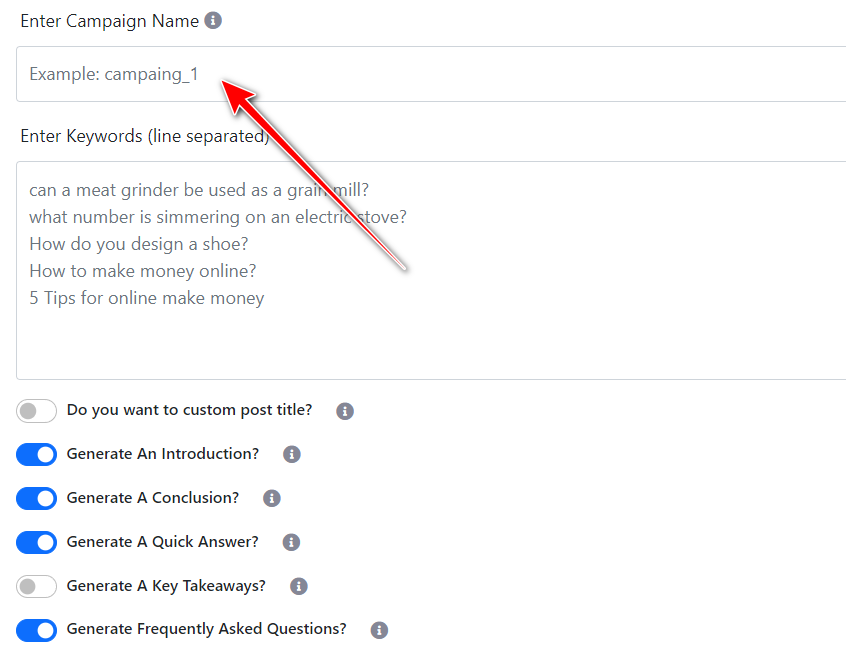
Step-3: Keyword List: Provide your keyword list, with one keyword per line. If it’s a single keyword, just give one keyword.
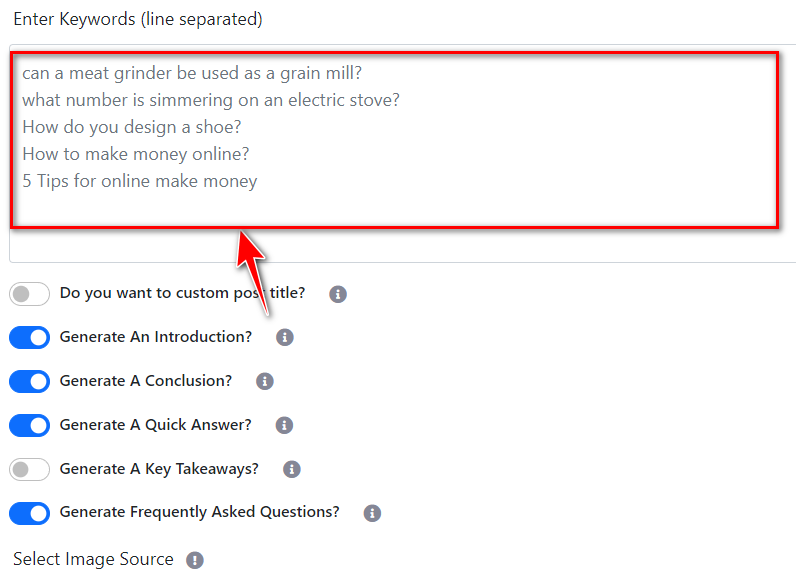
Step-4: Custom Post Title: If you turn on the option “Do you want to custom post title?”, you can create a title pattern by adding words before and after the keyword using the {keyword} shortcode.
Provide one pattern per line, for example:
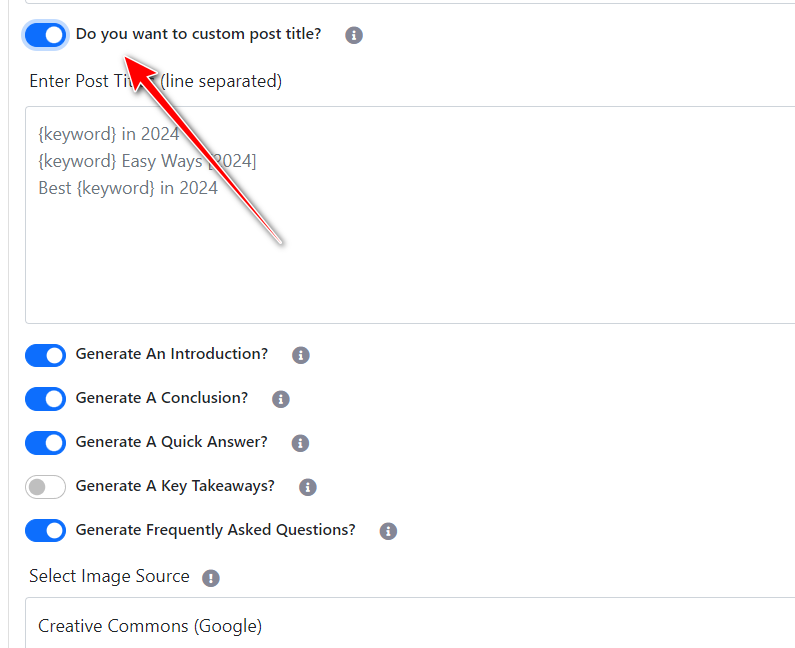
- {keyword} in 2024
- Best {keyword} in 2024
- {keyword} in 2024 (Ultimate Guide)
Note: {keyword} will automatically be replaced by your keyword in the given place.
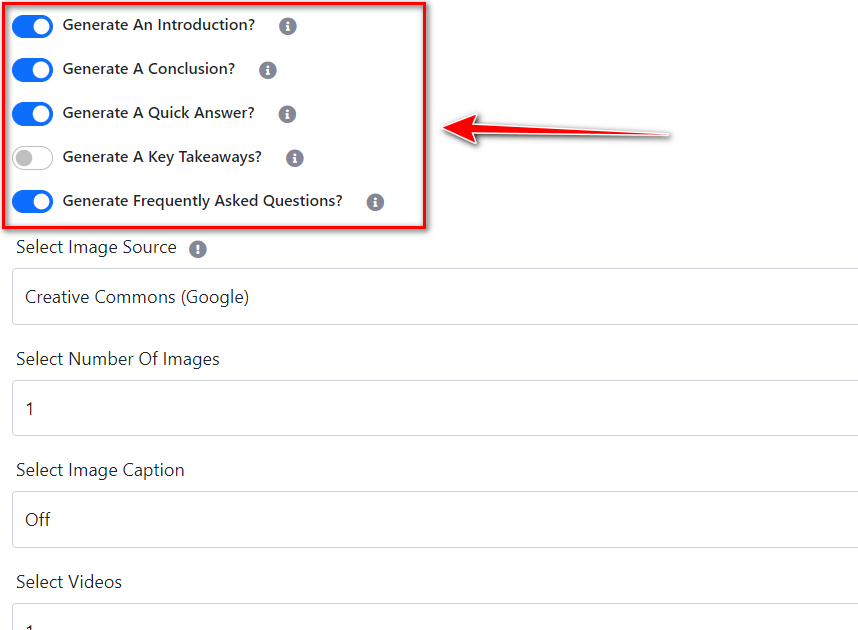
Step-5: Article Sections: Turn on or off sections like Introduction, Conclusion, FAQ, Quick Answer, and Key Takeaways depending on what you want to include in your article.
Step-6: Select Image Source: Select the source from which you want to add images to your article. Options include Google CCL, Google Image, Pixabay, and Unsplash.Creative Commons Google License:
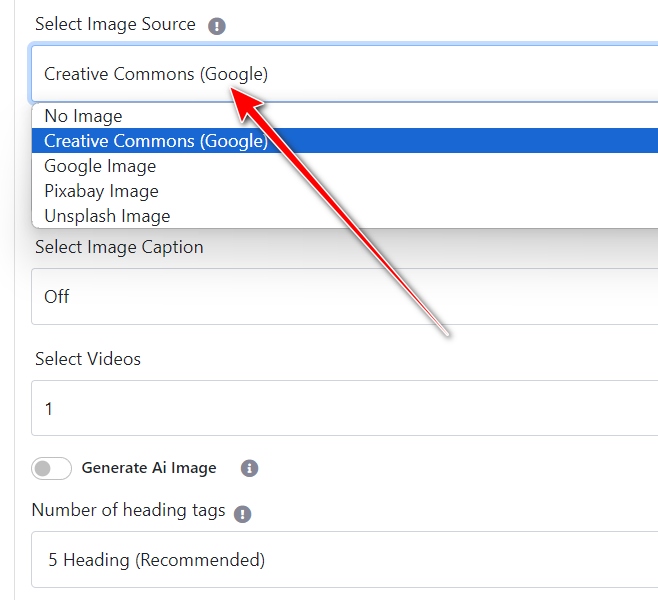
Creative Commons licenses: These images are usually available at no charge to use but require credit. They may also have limitations on how, or in what context, you can use them. For example, an image’s license might state that you can’t modify it or use it for commercial purposes.
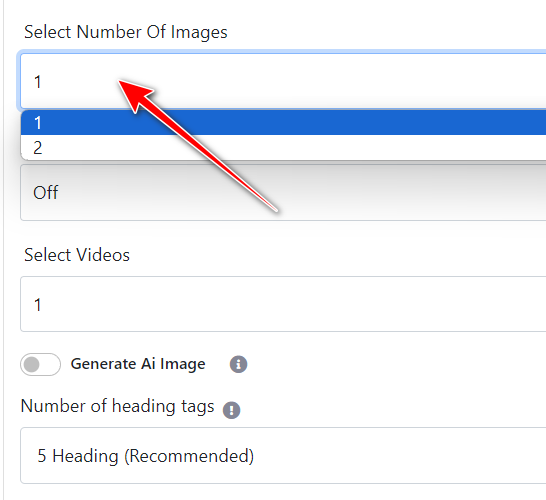
Step-7: Number of Images: Select the number of images you want to add to your article.
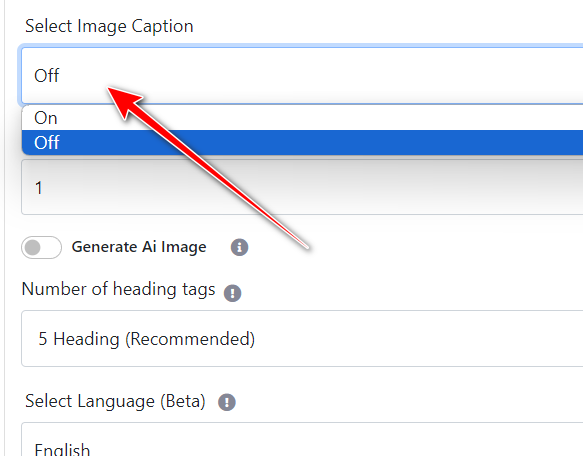
Step-8: Image Caption (Credit): If you want to give image credit below the images, turn on the “Select Image Caption (Credit)” option.
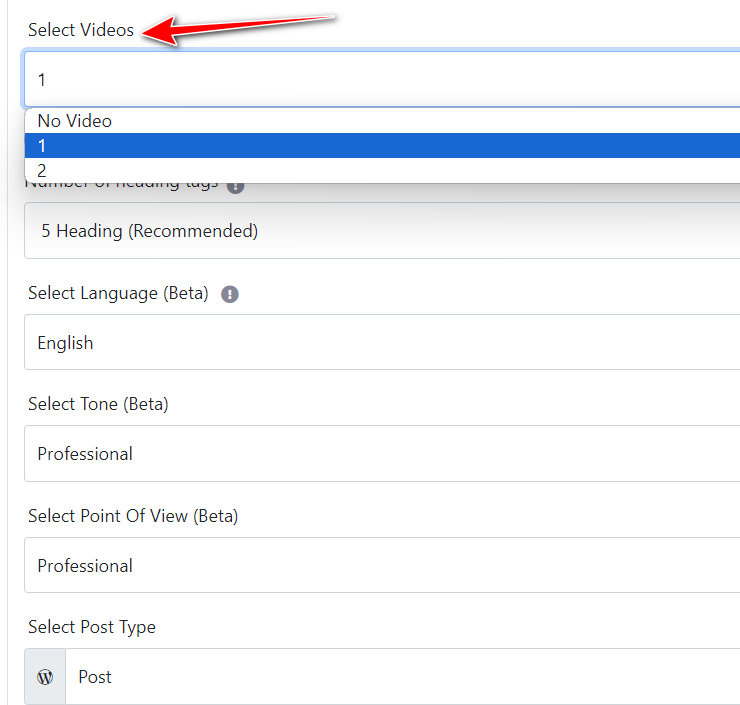
Step-9: Select Videos: Select the number of videos you want to include in your article.
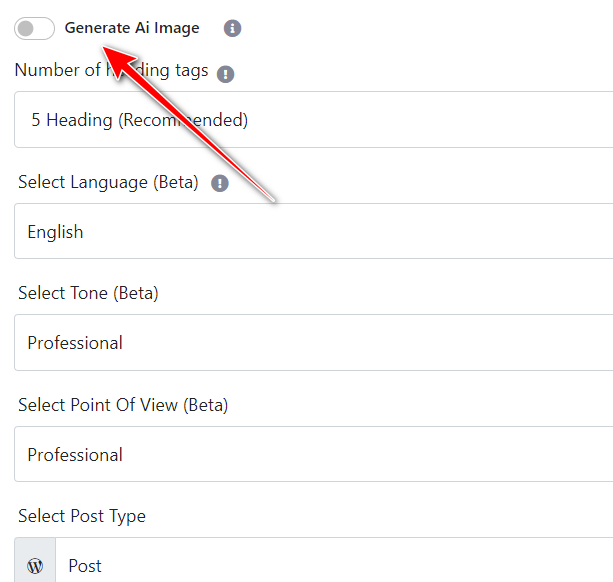
Step-10: Generate AI Image: Turn on this option if you want to add AI-generated images to your article. You can adjust the quality and size of AI images from the ‘AI Image Quality’ and ‘AI Image Size’ options.
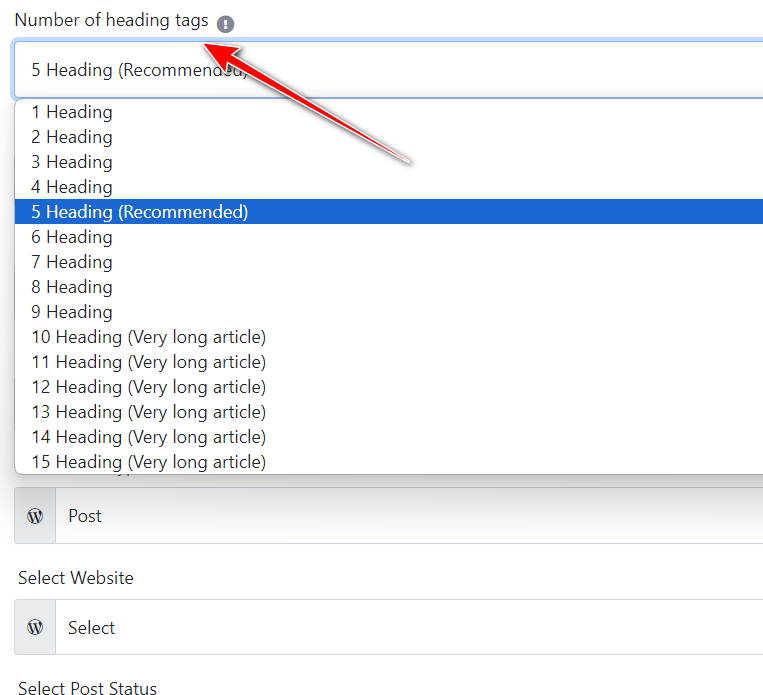
Step-11: Number of Heading Tags: Define how many H2 headings you want in your article. The recommendation is 5; the more you add, the longer the article will be.
Step-12: Select Language: You can generate the article in over 100+ languages from the ‘Select Language’ option.
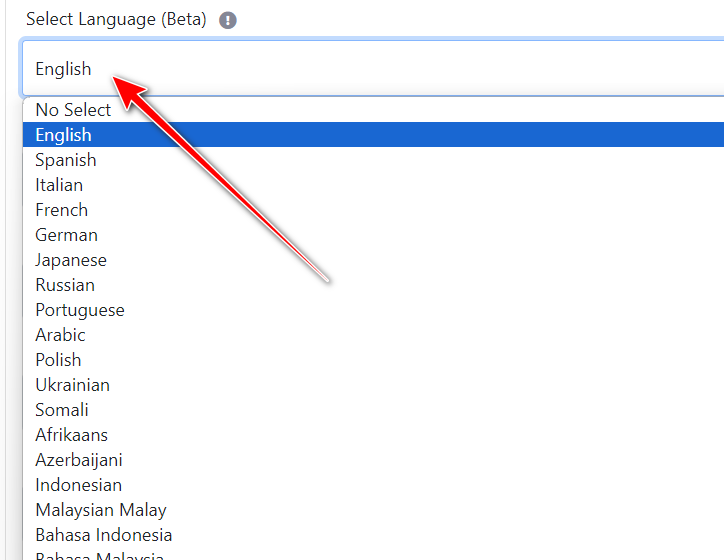
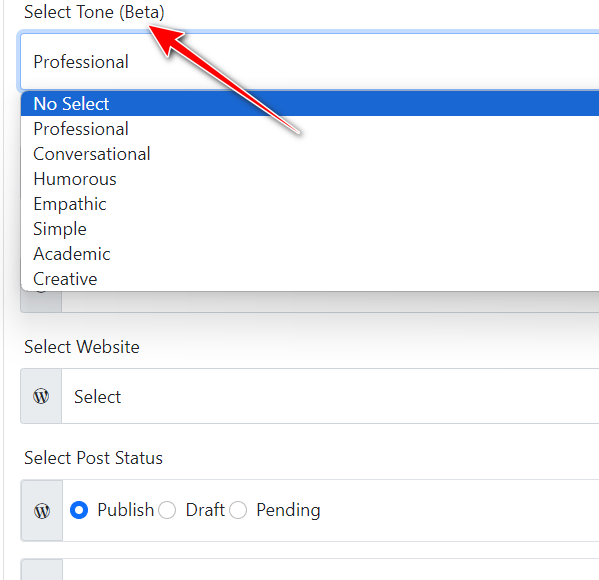
Step-13: Select Tone: Choose the writing tone for your article from the ‘Select Tone’ option.
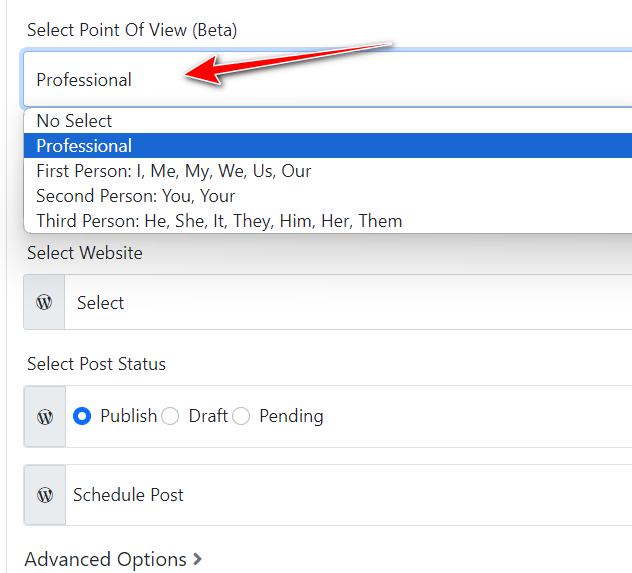
Step-14: Select Point of View: Select the point of view from which your article will be written.
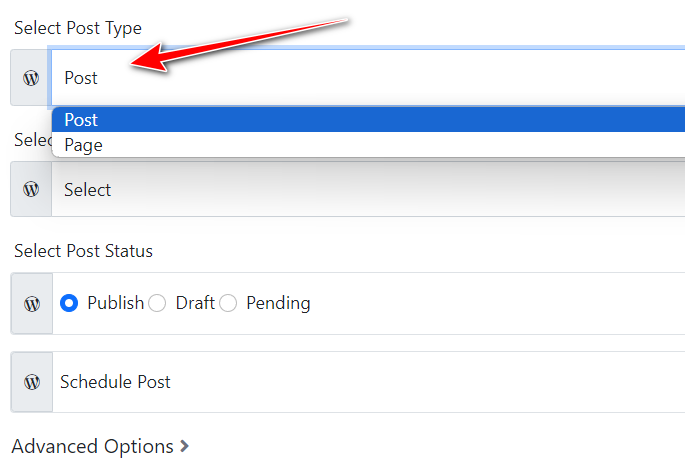
Step-15: Enter Post Slug: Choose whether you want the post as a page or a blog post from the ‘Select Post Type’ option.
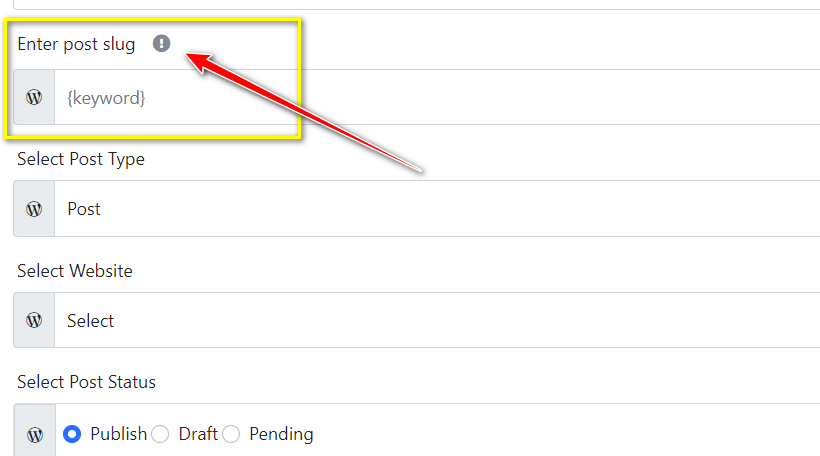
Step-16: Select Post Type: Choose whether you want the post as a page or a blog post from the ‘Select Post Type’ option.
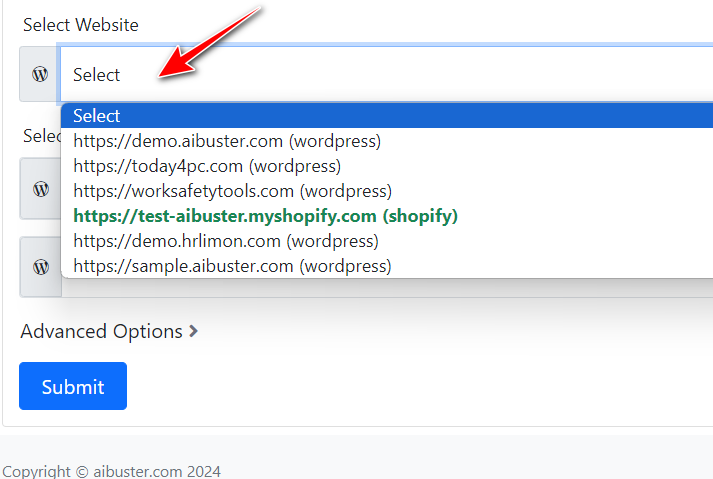
Step-17: Select Website: Select the website where you want to post the article from the ‘Select Website’ option.
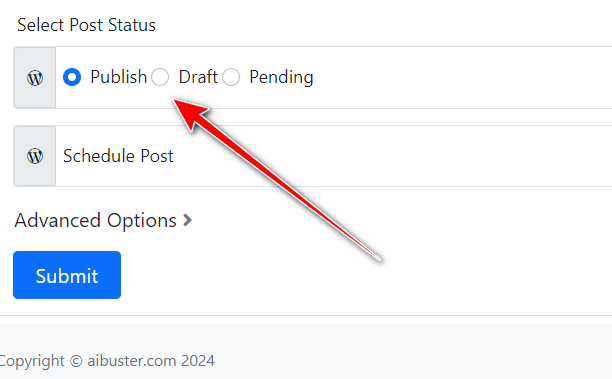
Step-18: Select Post Status: Choose the status of the article (Publish, Draft, Pending) from the ‘Select Post Status’ option.
Step-19: Schedule Post: If you want to schedule the post, select ‘Schedule Post’ and choose the date range within which you want the articles to be published. They will be published sequentially as per the schedule.

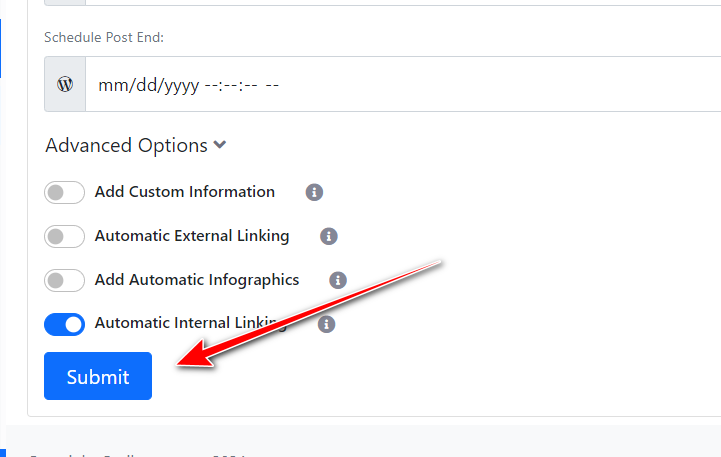
Step-20: Advanced Options:
Add Custom Information: If you want to input any information beforehand that will be included in the article, or if you want a brand name or a specific sentence to appear in the article, add it in the Custom Information box. Detailed documentation is available for this.
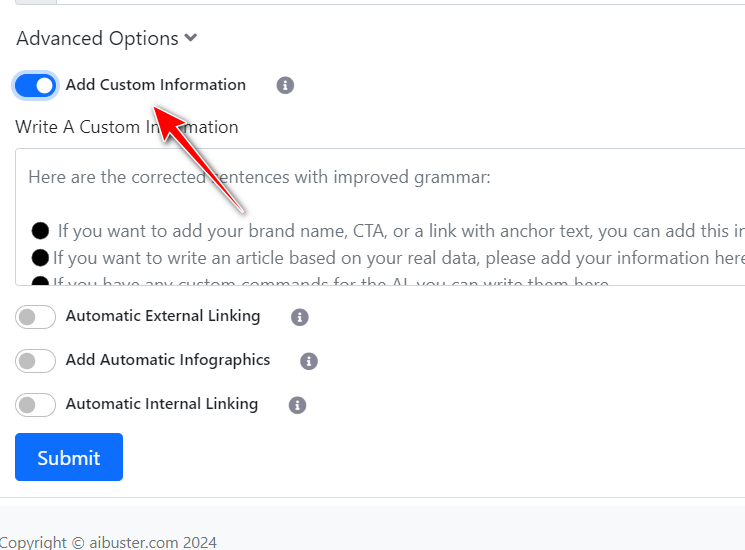
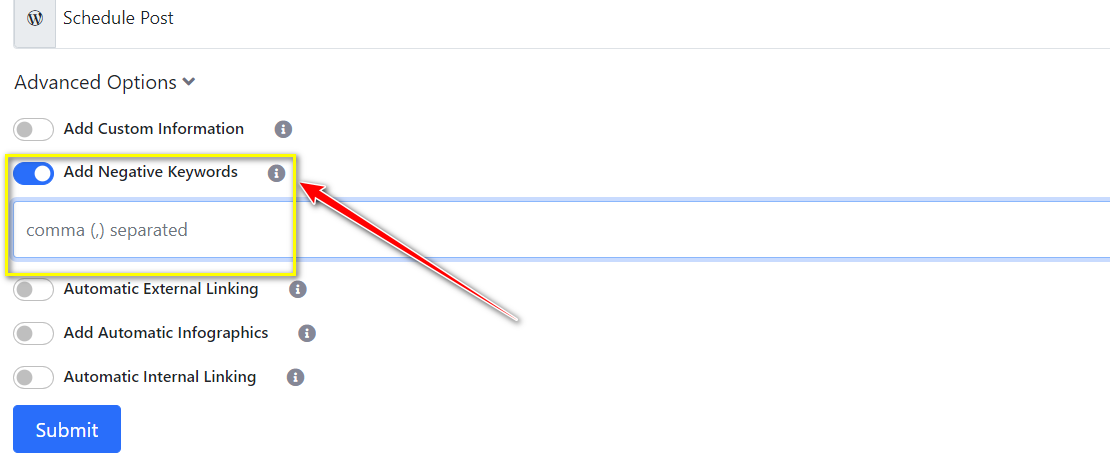
Add Negative Keywords: If you want to input any information beforehand that will be included in the article, or if you want a brand name or a specific sentence to appear in the article, add it in the Custom Information box. Detailed documentation is available for this.
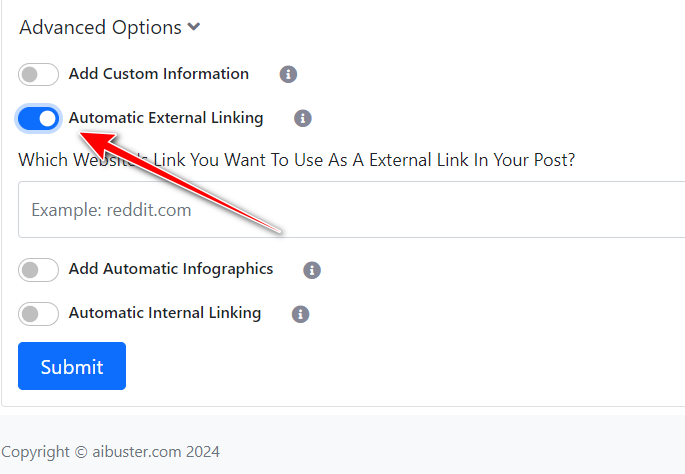
Automatic External Linking: Just provide the URL of the relevant website (without https) you want to add as an external link, e.g., reddit.com, wikipedia.org, or quora.com.
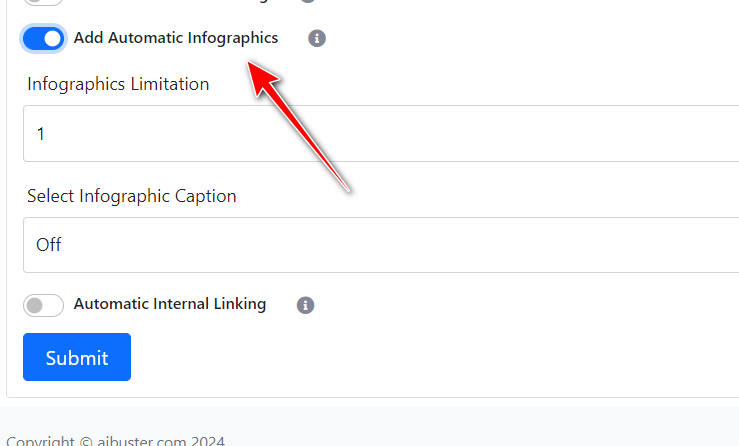
Add Automatic Infographics: Turn on this option to automatically add 1 or 2 infographics to your article.
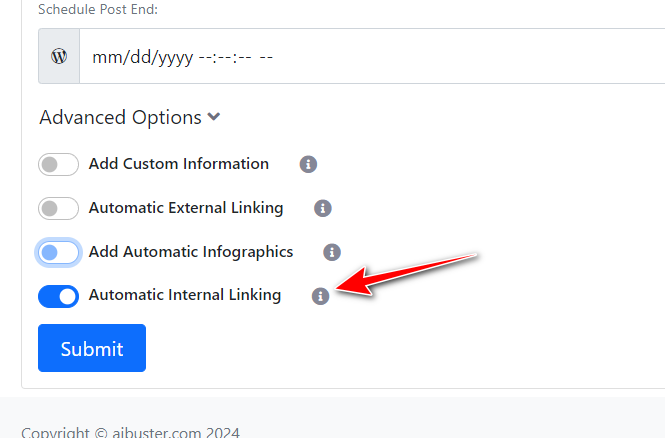
Automatic Internal Linking: Turn on this option to automatically add internal links to relevant posts on your website. For this feature to work, your website needs to have a sufficient number of relevant articles.
Step-21: Submit: Finally, click on ‘Submit’.
Generate Single Articles
Our steps for Single Articles are almost the same as the ones mentioned above. Below, we will show the features that work only for Single Articles.
Special Features for Single Articles:
Step-22: Real-time Editing: You can edit and preview the article in real-time editor before publishing. This ensures that your content meets your requirements.
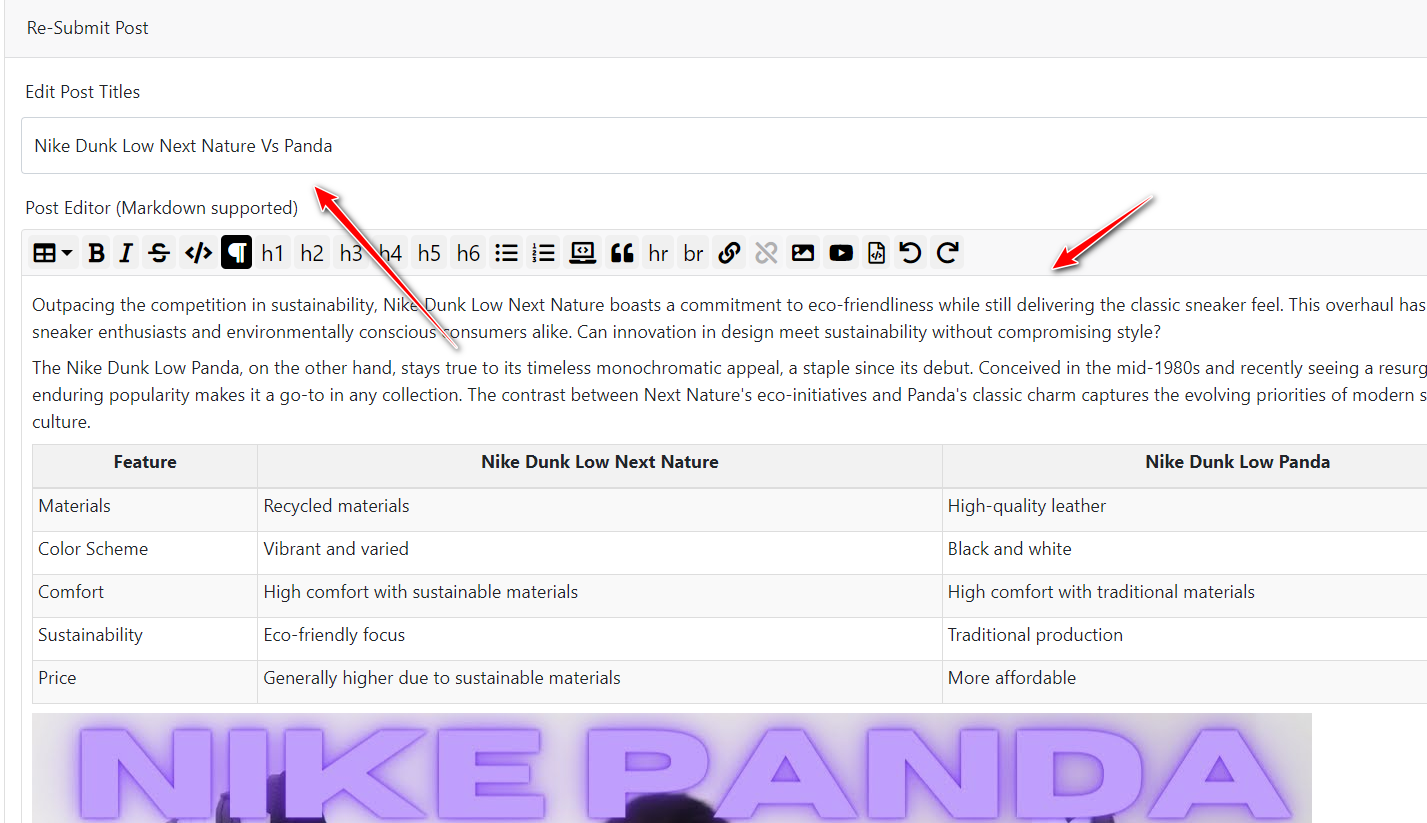
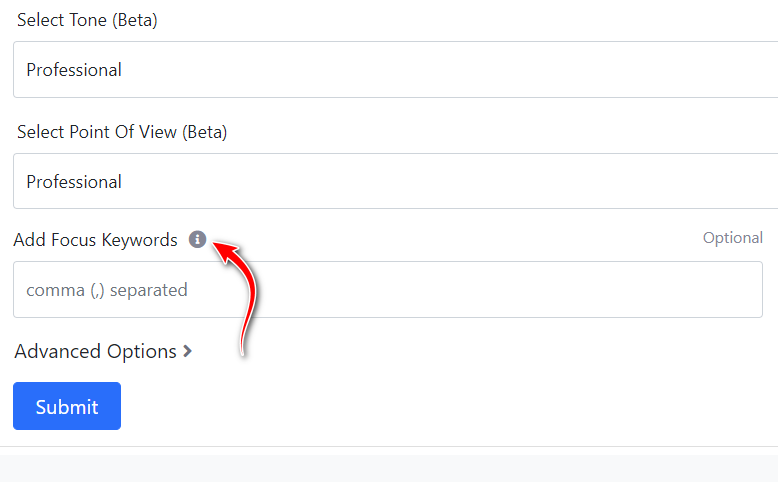
Step-23: Add Focus Keywords: You can edit and preview the article in real-time editor before publishing. This ensures that your content meets your requirements.
Step-24: Add Entities: You can edit and preview the article in real-time editor before publishing. This ensures that your content meets your requirements.

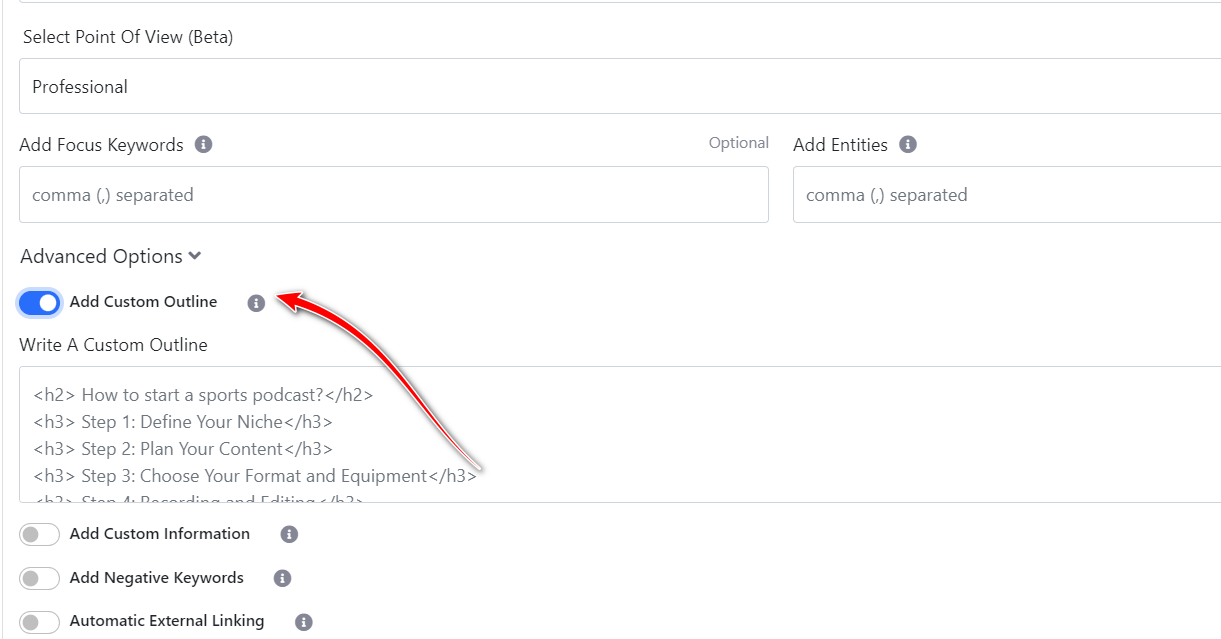
Step-25: Add Custom Outline: You can edit and preview the article in real-time editor before publishing. This ensures that your content meets your requirements.
Write Informative Article Module – Video Guideline
Informative Automation Module Sample Article
The AI Buster Informative Automation Module offers an efficient and user-friendly way to generate and publish bulk articles for your website.

Are Neon Tetras Live Bearers?
Neon tetras are one of the most popular aquarium fish due to their vibrant colors and ease of care. . . Read More
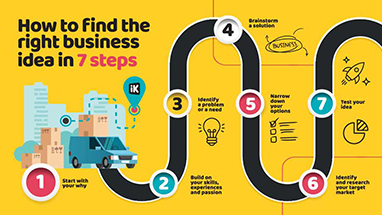
How To Find A Business Idea?
Are you eager to start your own business but struggling to come up with a unique idea? Finding a business. . . Read More

10 Expert Neon Tetra Breeding Tips For Successful Reproduction
Neon tetras are one of the most popular and colorful freshwater fish. Breeding them can be a rewarding. . . Read More
Ready!
Try Before You Buy: Enjoy a 3-Day Free Trial For $1 Today!
Don’t just take our word for it – try AI Buster for FREE with our 3-day trial offer and experience the benefits for yourself.
200+ Reviews from Trustpilot & FB Page ★★★★★


