How To Use the Recipe Module of AI Buster?
Hey there, are you searching for an awesome way to make super cool recipes that everyone will love? Well, you’re in luck! Let me introduce you to AI Buster’s recipe module, which is a total game-changer for food bloggers everywhere. It’s like having your own magical assistant to help you create the most captivating recipe content ever!

TRUSTED BY GLOBALLY


Getting Started with the Recipe Automation Module
To get started, log in to your account on the AI Buster platform. Upon logging in, go to the “Bulk Recipe Articles” section, where you will encounter two choices presented to you.
- Bulk Recipe Articles
- Single Recipe Articles
To use the AI Buster tool on your website, you must connect it by accessing the website menu. If you’re unsure how to link your WordPress website to the AI Buster tool, you can refer to the article “How to connect your WordPress website to the AI Buster Tool?” for guidance.
After successfully linking your website, you can use the AI Buster tool to publish content. You have the option to publish content in two ways: either in bulk or individually. In this guide, we will demonstrate how to publish multiple articles at once.
Generate Bulk Recipe Articles
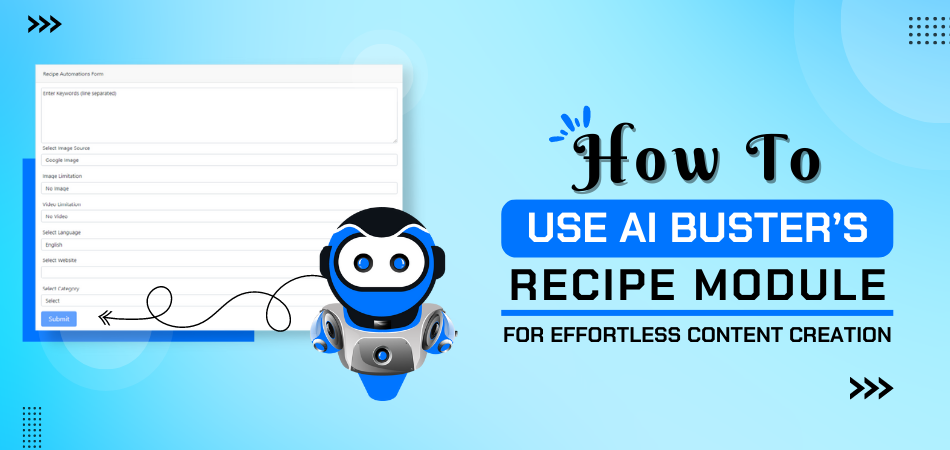
To publish multiple articles at once, opt for the “Bulk Recipe Articles” feature. This selection will prompt the display of 22 unique fields on your screen:
Step-by-Step Guide
Step 1: Choose Model: Begin by selecting your preferred model. We suggest going with the GPT-4o version for optimal results.
Step 2: Campaign Title: Input a unique title for your campaign. Ensure that the campaign name is distinct and specific.
Step-3: Keyword List: Enter your list of keywords, with each keyword on a separate line. If there is only one keyword, input it as such. Please Input only Recipe name, like: Paneer butter masala recipe, Upma Recipe Recipe
Step-4: Custom Post Title: Enabling the “Custom Post Title” option allows you to generate a title format by incorporating words before and after the keyword using the {keyword} shortcode.
Provide one pattern per line, for example:
- {keyword} in 2024
- Best {keyword} in 2024
- {keyword} in 2024 (Ultimate Guide
Note: {keyword} will automatically be replaced by your keyword in the given place.
Step 5: Article Sections: Modify the content of your article by enabling or disabling sections like Introduction, Conclusion, FAQ, Quick Answer, and Key Takeaways based on your preferences.
Step 6: Pick the Image Source: Identify where you will obtain images for your article. Options include Google CCL, Google Image, Pixabay, and Unsplash under the Creative Commons Google License.
Creative Commons licenses: These images are usually available at no charge to use but require credit. They may also have limitations on how, or in what context, you can use them. For example, an image’s license might state that you can’t modify it or use it for commercial purposes.
Step-7: Number of Images: Select the number of images you want to add to your article.
Step-8: Image Caption (Credit): Activate the “Enable Image Caption (Credit)” option if you wish to provide image credit below each image.
Step-9: Select Videos: Select the number of videos you want to include in your article.
Step-10: Generate AI Image: Enable this feature to include AI-generated images in your article. Use the ‘AI Image Quality’ and ‘AI Image Size’ settings to customize the quality and dimensions of these images.
Step-11: Number of Heading Tags: Specify the desired quantity of H2 headings to be included in your article. It is advised to use around 5 headings; adding more will result in a lengthier article.
Step-12: Select Language: Utilize the ‘Select Language’ feature to create the article in a variety of languages, with options available in over 100 different languages.
Step-13: Select Tone: Choose the writing tone for your article from the ‘Select Tone’ option.
Step-14: Select Point of View: Select the point of view from which your article will be written.
Step-15: Select Post Type: Choose whether you want the post as a page or a blog post from the ‘Select Post Type’ option.
Step-16: Select Website: Select the website where you want to post the article from the ‘Select Website’ option.
Step-17: Select Post Status: Choose the status of the article (Publish, Draft, Pending) from the ‘Select Post Status’ option.
Step-18: Schedule Post: If you want to schedule the post, select ‘Schedule Post’ and choose the date range within which you want the articles to be published. They will be published sequentially as per the schedule.
Step-19: Advanced Options:
Add Custom Information: Enter any information in advance that should be incorporated into the article, such as a brand name or specific sentence. Utilize the Custom Information box for this purpose. Additional guidance on this feature is accessible through detailed documentation provided.
Automatic External Linking: To implement automatic external linking, simply input the URL of the pertinent website (without using https), such as reddit.com, wikipedia.org, or quora.com.
Enable Automatic Infographics Inclusion: Activate this feature to automatically incorporate 1 or 2 infographics into your article.
Enable Automatic Internal Linking: Activate this feature to have internal links automatically inserted into your content, directing readers to related posts on your website. To utilize this functionality effectively, ensure that your website contains an ample number of relevant articles.
Step-20: Submit: Finally, click on ‘Submit’.
Recipe Automation Module – Video Guideline
Recipe Module Sample Article
The AI Buster How-To Module offers an efficient and user-friendly way to generate and publish bulk articles for your website.

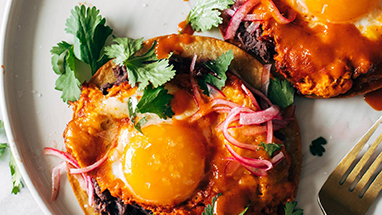
Red Chile Tostadas With Eggs
As a professional chef, I am always looking for new ways to incorporate bold and delicious flavors into my. . . Read More

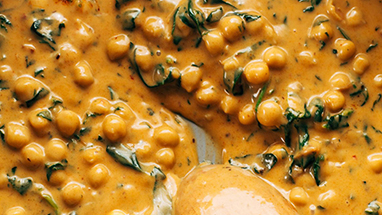
Steph’s Chickpea Curry With Spinach And Rice
As a professional chef, I am always on the lookout for delicious and healthy recipes that can satisfy the taste. . . Read More

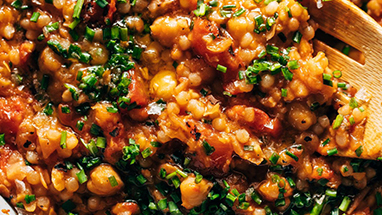
Pearl Couscous Skillet With Tomatoes, Chickpeas, And Feta
As a professional chef, I am always on the lookout for new and exciting recipes to add to my repertoire. . . Read More
Ready!
Try Before You Buy: Enjoy a 3-Day Free Trial For $1 Today!
Don’t just take our word for it – try AI Buster for FREE with our 3-day trial offer and experience the benefits for yourself.
200+ Reviews from Trustpilot & FB Page ★★★★★


