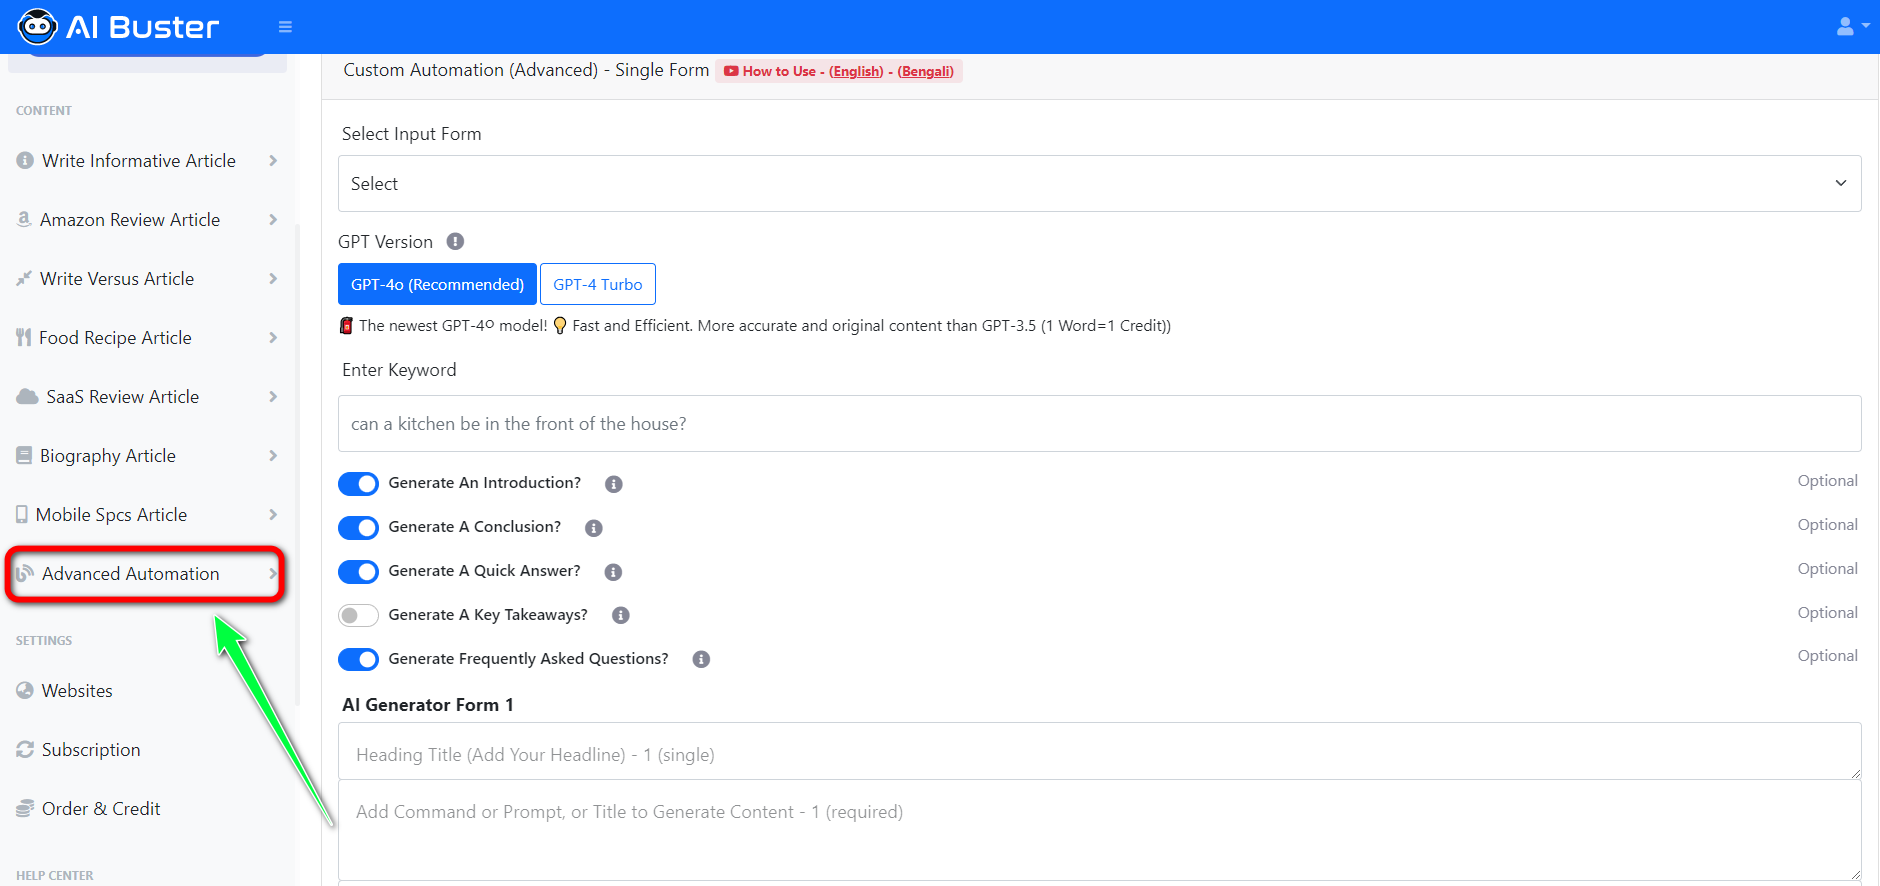
Step 1: First, go to the AI Buster dashboard and click on “Advanced Automation.”
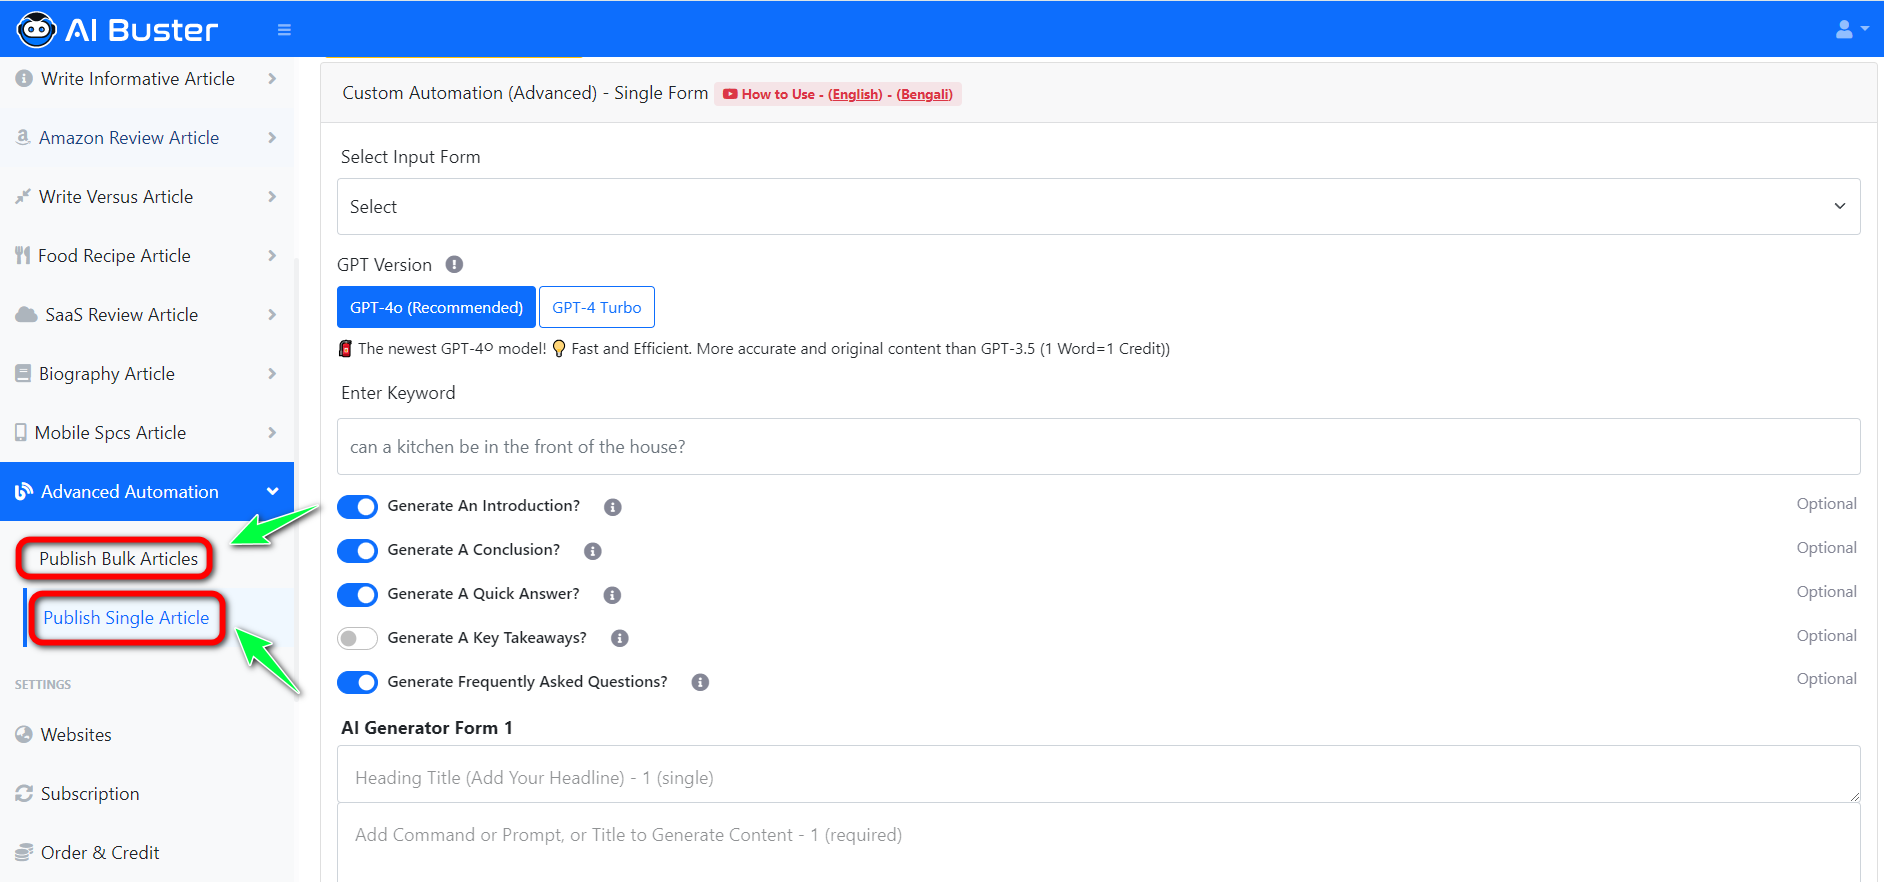
Step 2: In “Advanced Automation,” you can choose to generate bulk or single articles. Click on “Publish Bulk Article” or “Publish Single Article” based on your preference.
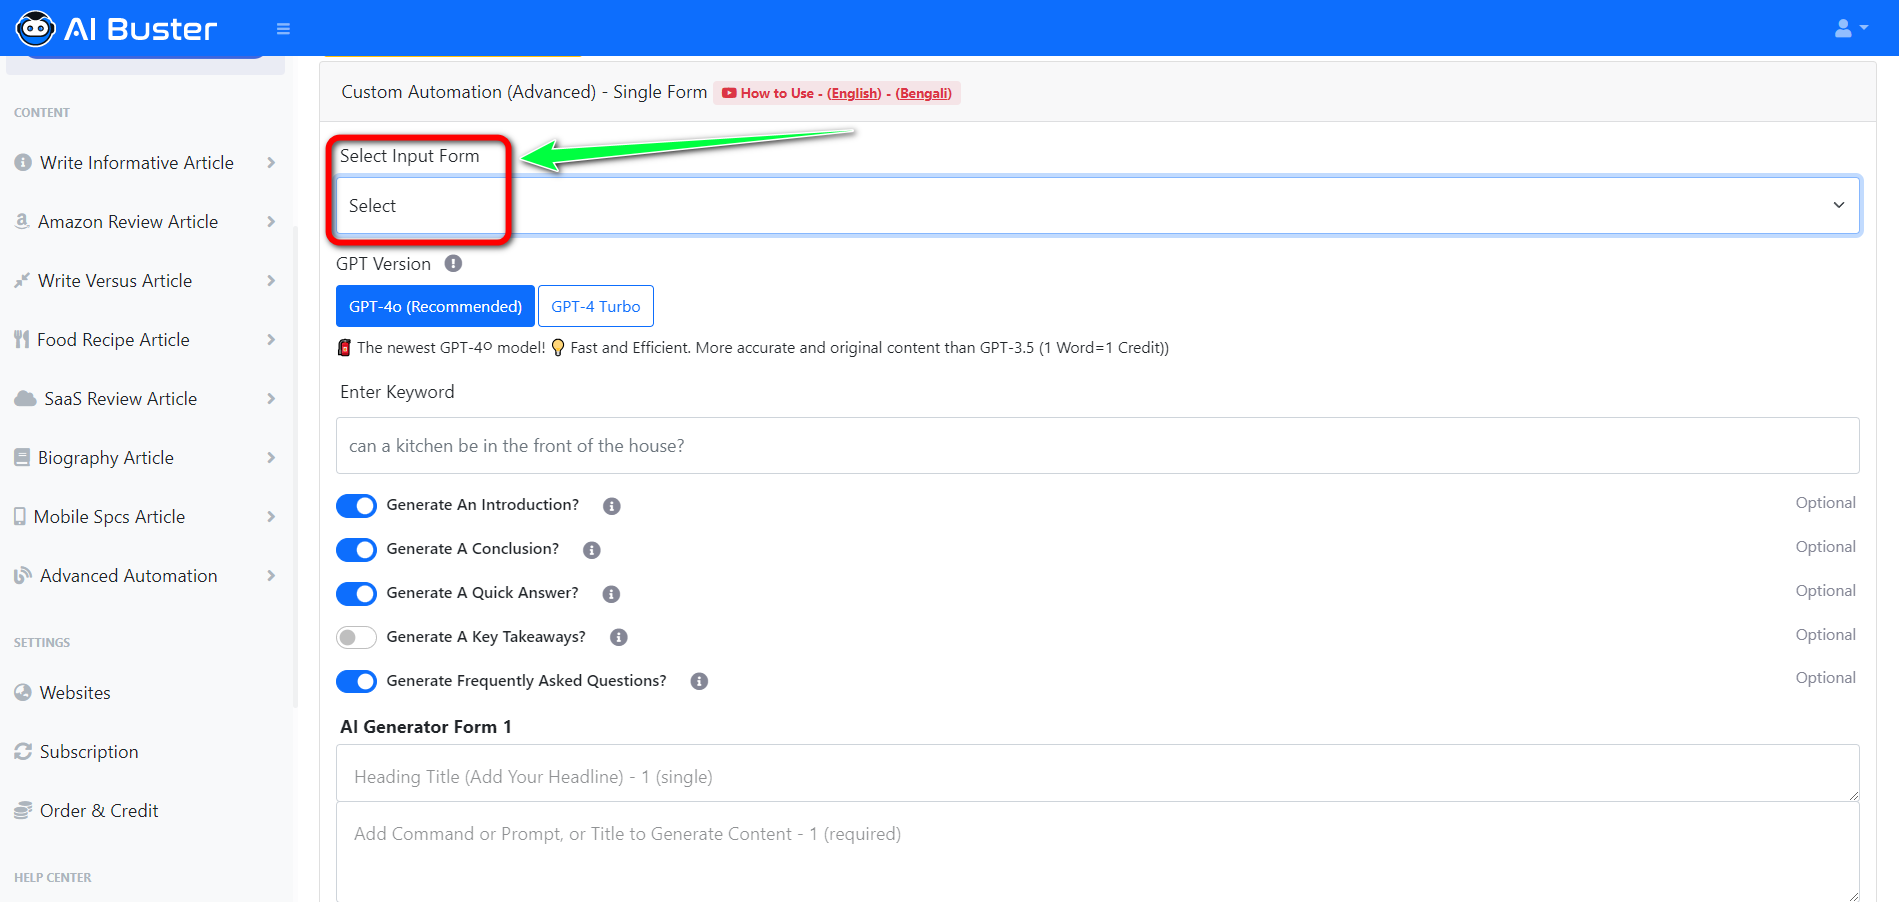
Step 3: The first option you will see on the screen is “Select Input Form.” If you are a new user, no form will be shown, so there’s nothing to select here.
Step 4: AI Buster has a great feature called “GPT Version.” You can select ‘GPT-4o‘ or ‘GPT-4 Turbo‘ to use the latest GPT version for generating completely unique articles. Typically, articles are generated using GPT-3.5 in AI Buster.
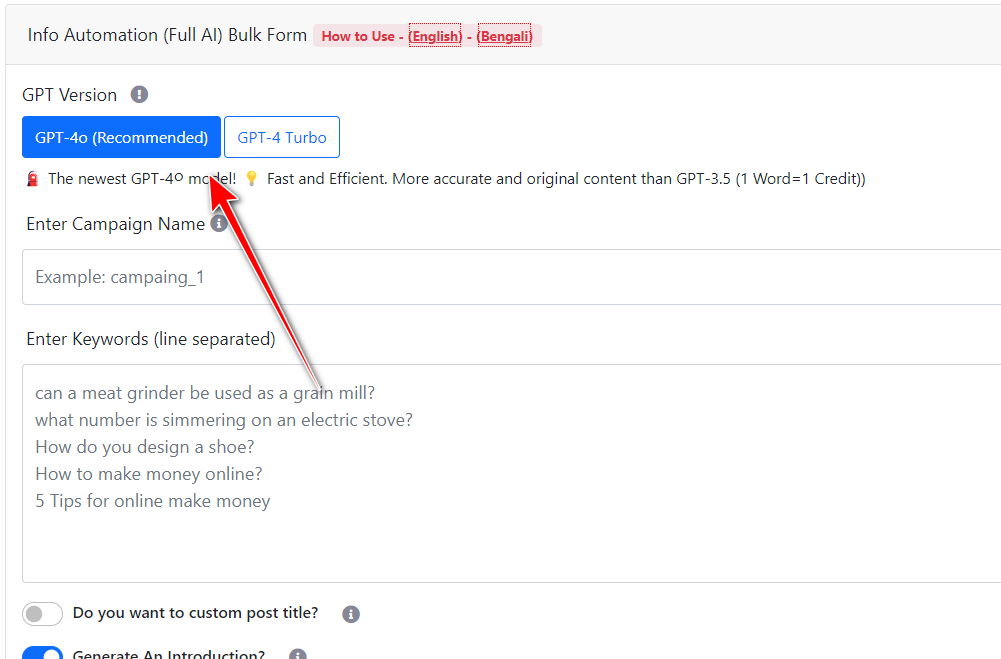
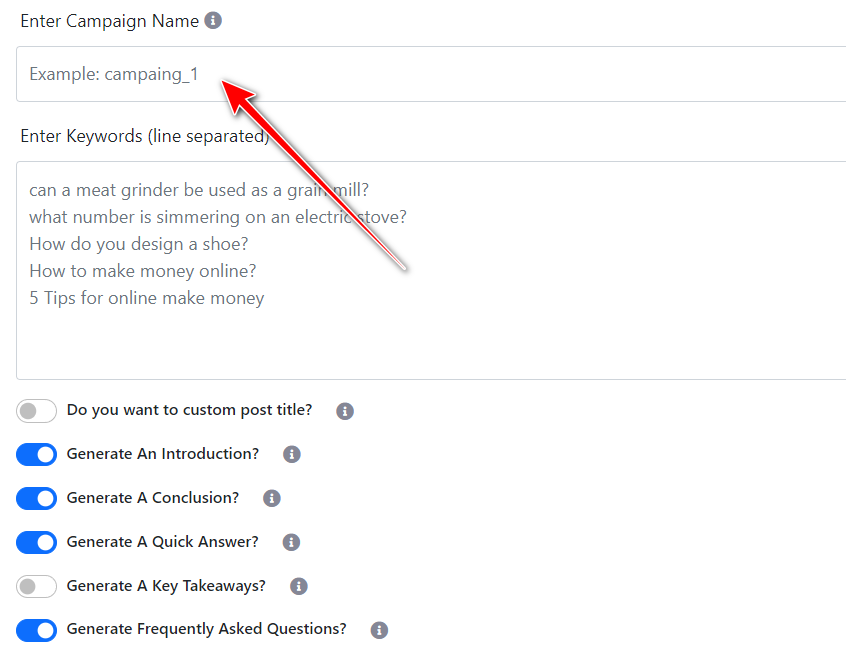
Step 5: Entering a campaign name in “Enter Campaign Name” is mandatory. This name will help you view the history of generated articles later.
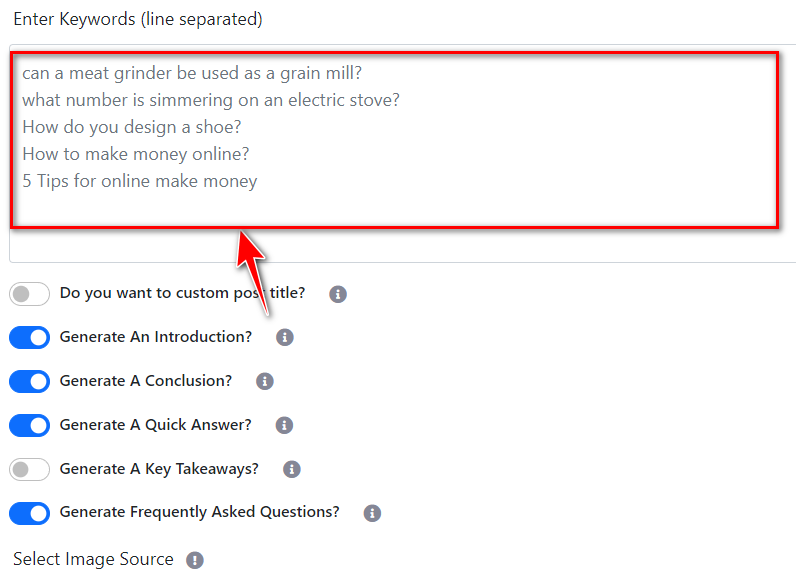
Step 6: In “Enter Keywords,” input the keywords you want to use for article generation. Use a separated line for each keyword.
Step 7: Custom Post Title: If you turn on “Do you want to custom post title?”, you can create a title pattern by adding words before and after the keyword using the {keyword} short code. Provide one pattern per line, for example:
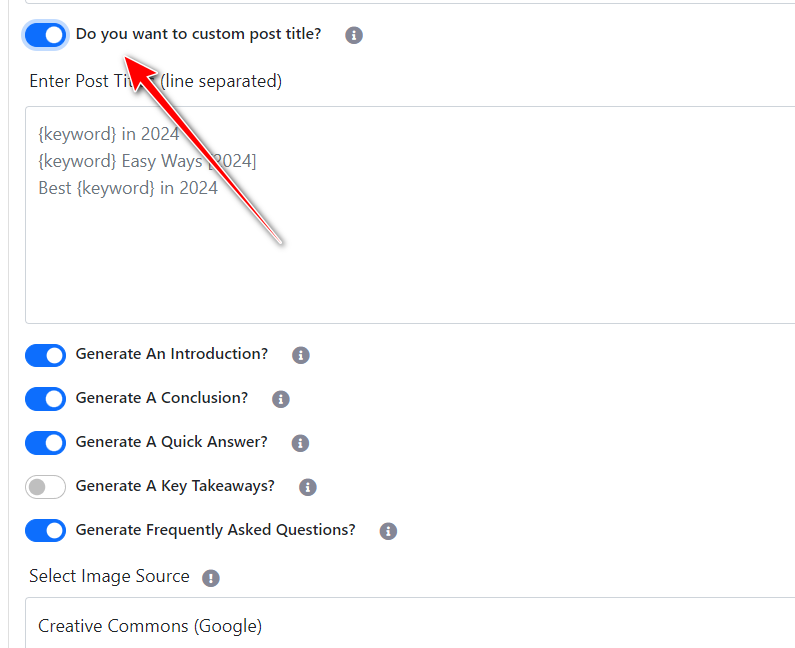
- Custom Post Title
- {keyword} in 2024
- Best {keyword} in 2024
- {keyword} in 2024 (Ultimate Guide)
Note: {keyword} will automatically be replaced by your keyword.
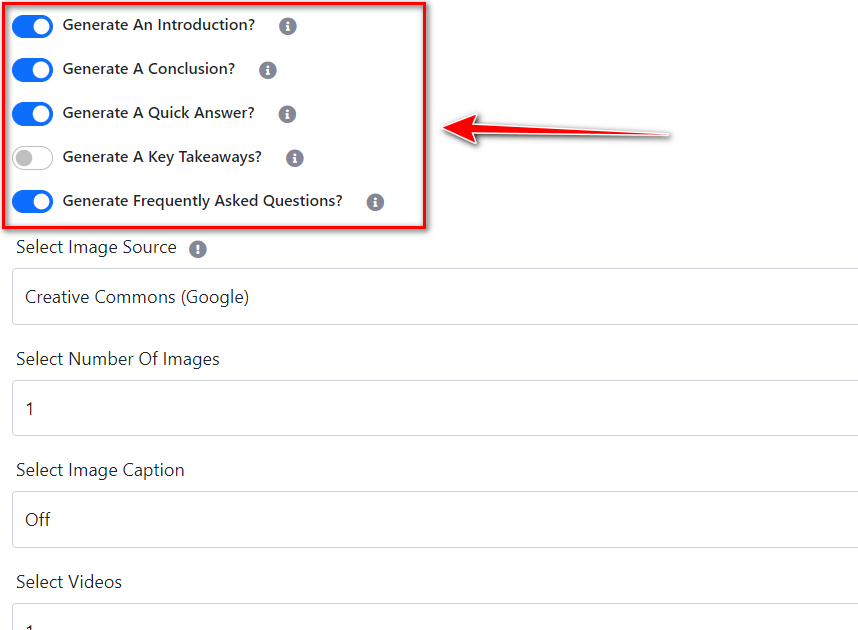
Step 8: Turn on or off sections like Introduction, Conclusion, FAQ, Quick Answer, and Key Takeaways depending on what you want to include in your article.
Step 9: AI Generator Form 1: This is the most important part of Advanced Automation. Use the options here to customize your article.

- Heading Title: Enter the heading title for your post or page. For bulk posts or pages, you can enter multiple titles, which will be used randomly during generation. You can use the {keyword} tag to include keywords in your titles.
- Add Command or Prompt, or Title To Generate Content – 1: Use this option to provide detailed commands for generating paragraphs or tables under the heading title. The output will follow your command exactly.
- Heading Tag: Specify if you want the heading title to be H1, H2, H3, or any HTML code. This allows easy changing of title tags.
After completing AI Generator Form 1, click on “Add Section” to proceed to AI Generator Form 2. You can use up to 15 AI Generator Forms per post or page.
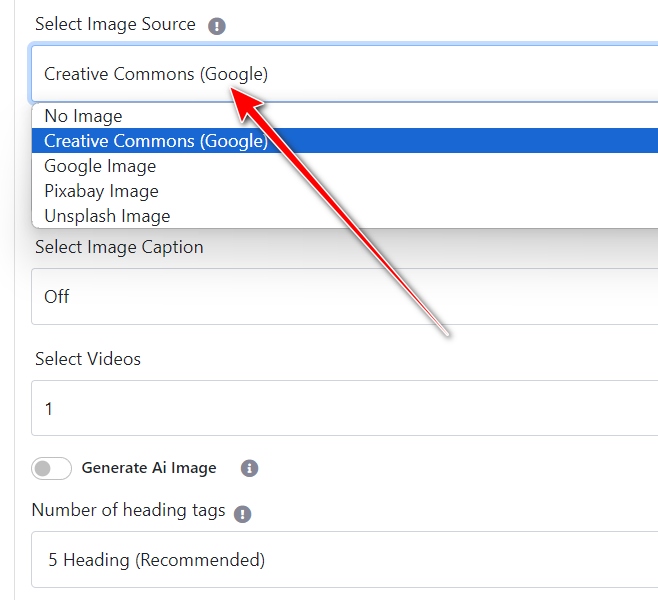
Step 10: Select Image Source: Choose the source for adding images to your article. Options include Google CCL, Google Image, Pixabay, and Unsplash.
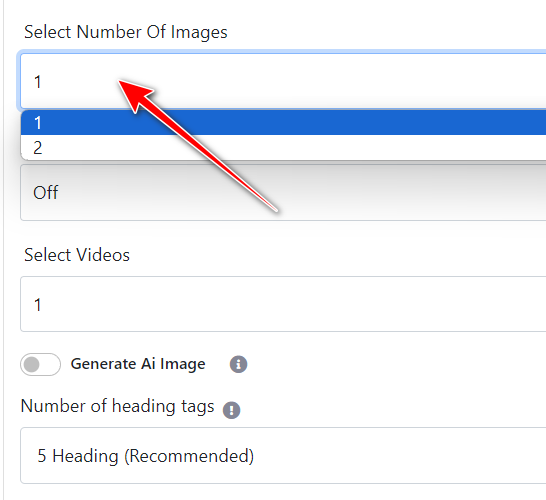
Step 11: Number of Images: Select the number of images to add to your article.
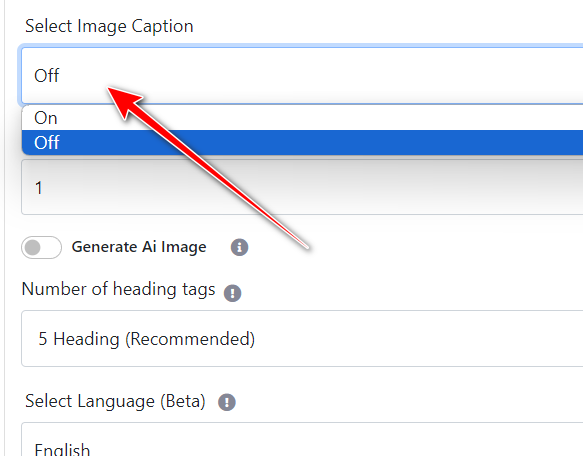
Step 12: Image Caption (Credit): Turn on the “Select Image Caption (Credit)” option if you want to give credit below the images.
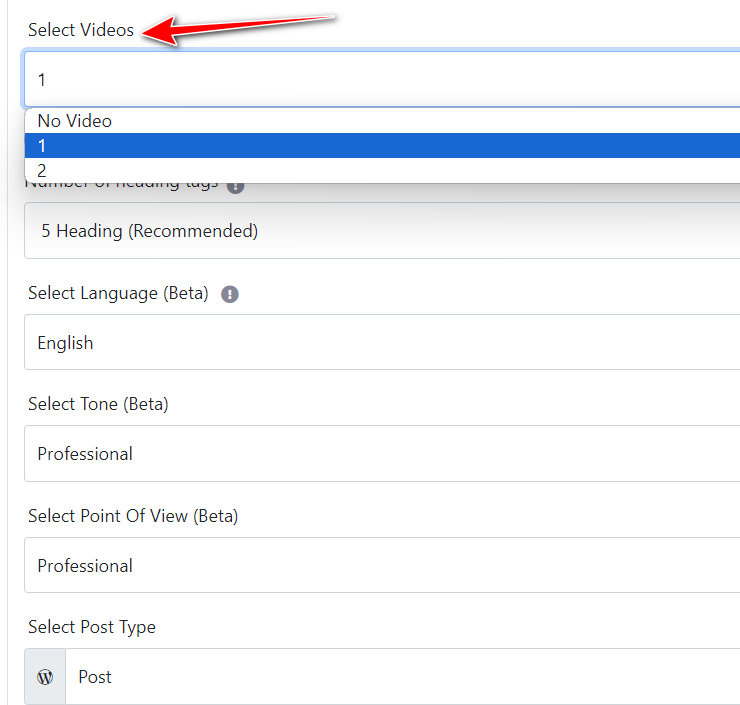
Step 13: Select Videos: Choose the number of videos to include in your article.
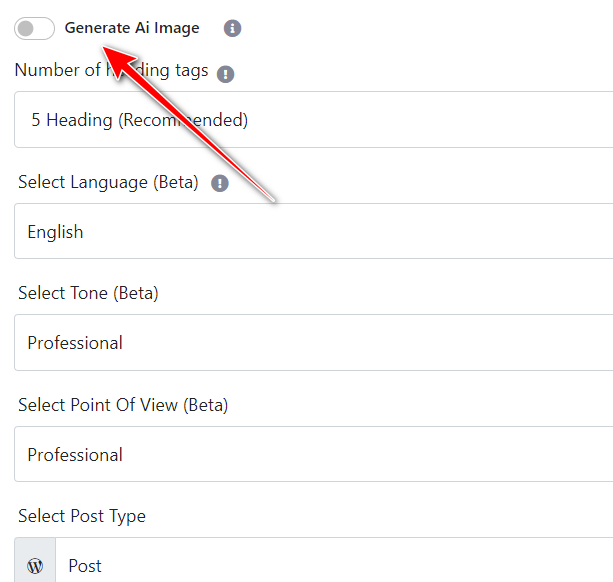
Step 14: Generate AI Image: Turn on this option to add AI-generated images. Adjust the quality and size using the ‘AI Image Quality’ and ‘AI Image Size’ options.
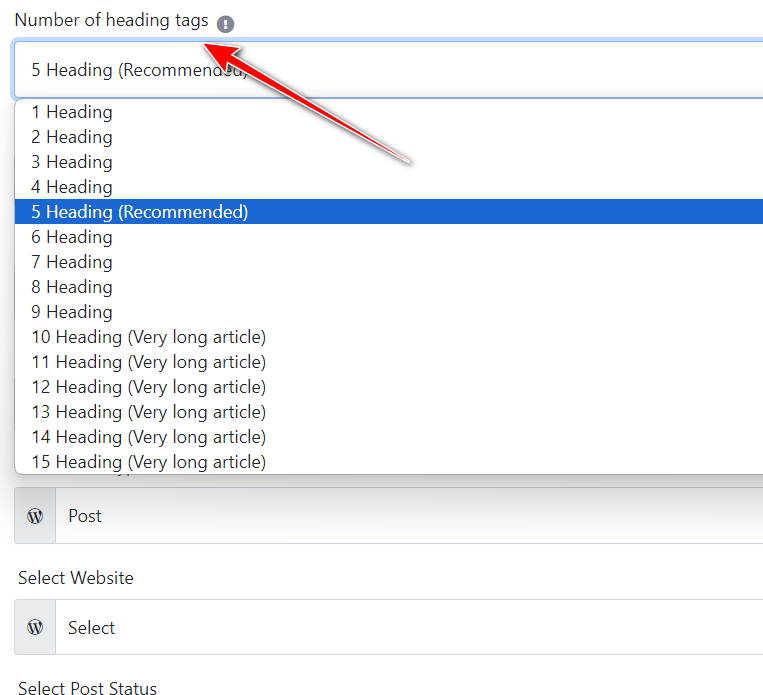
Step 15: Number of Heading Tags: Define the number of H2 headings for your article. The recommended number is 5; more headings will result in a longer article.
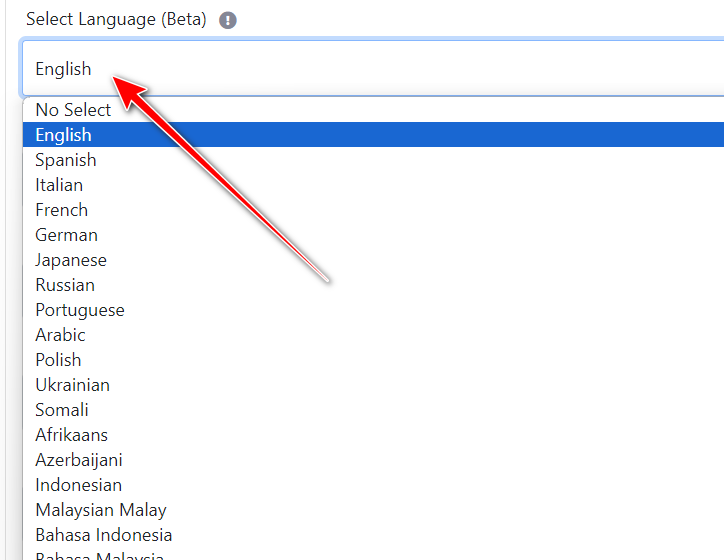
Step 16: Select Language: Generate the article in over 100+ languages using the ‘Select Language’ option.
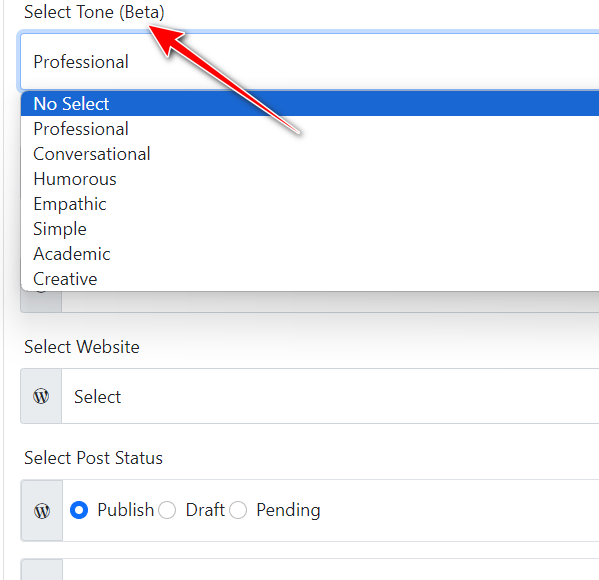
Step 17: Select Tone: Choose the writing tone for your article from the ‘Select Tone’ option.
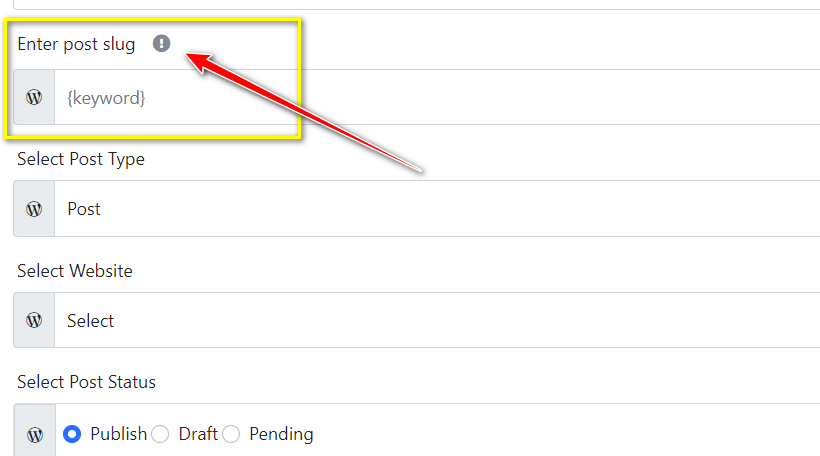
Step 18: Enter Post Slug: Enter the post slug for the article.
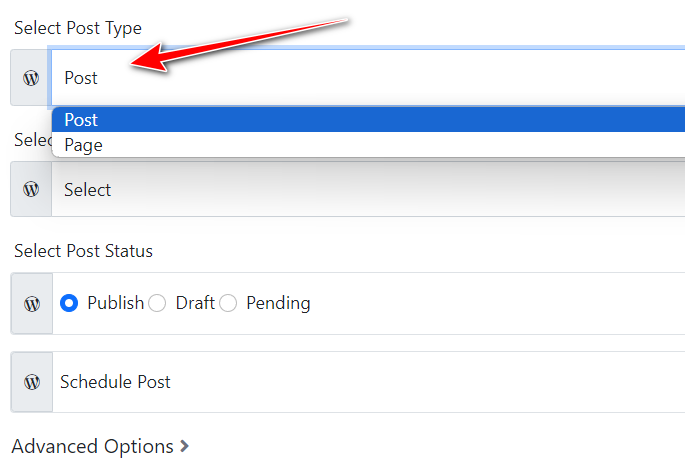
Step 19: Select Post Type: Choose whether the post will be a page or a blog post.
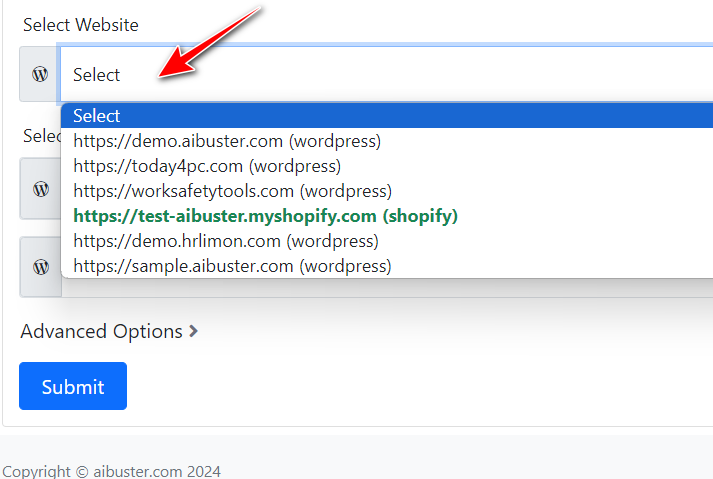
Step 20: Select Website: Select the website where you want to post the article.
Step 21: Select Post Status: Choose the status of the article (Publish, Draft, Pending).
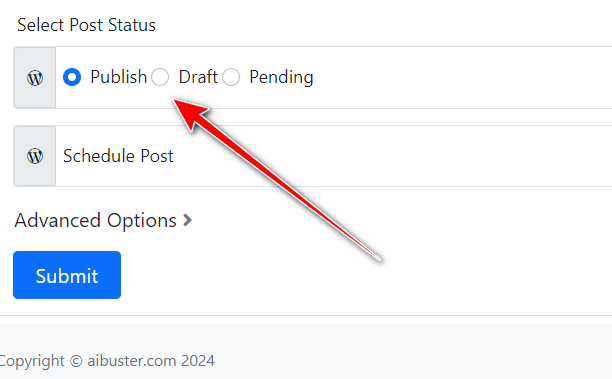
Step 22: Schedule Post: If you want to schedule the post, select ‘Schedule Post’ and choose the date range for publishing. Articles will be published sequentially as per the schedule.

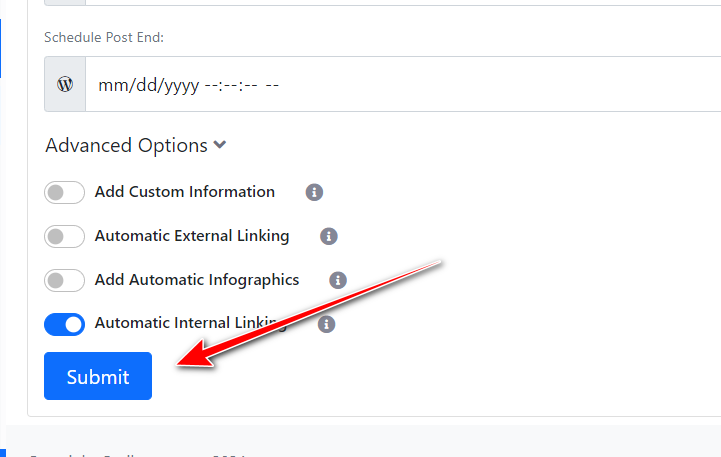
Step 23: Advanced Options:
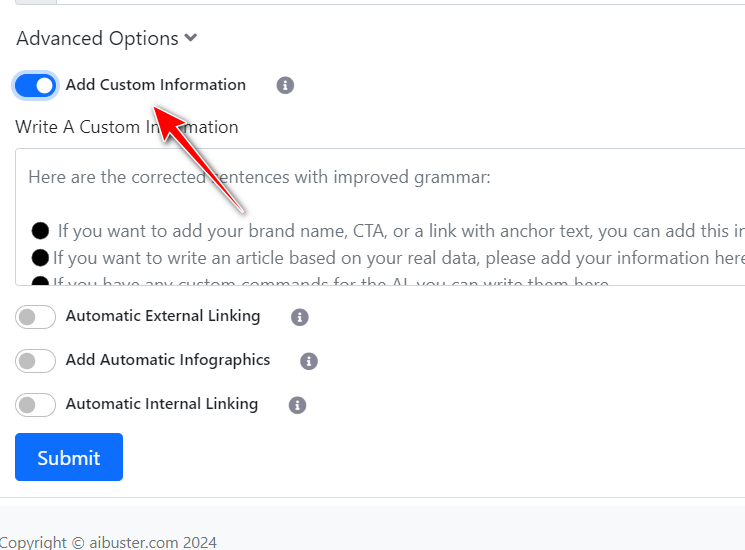
Add Custom Information: Input any specific information, brand name, or sentence you want to include in the article.
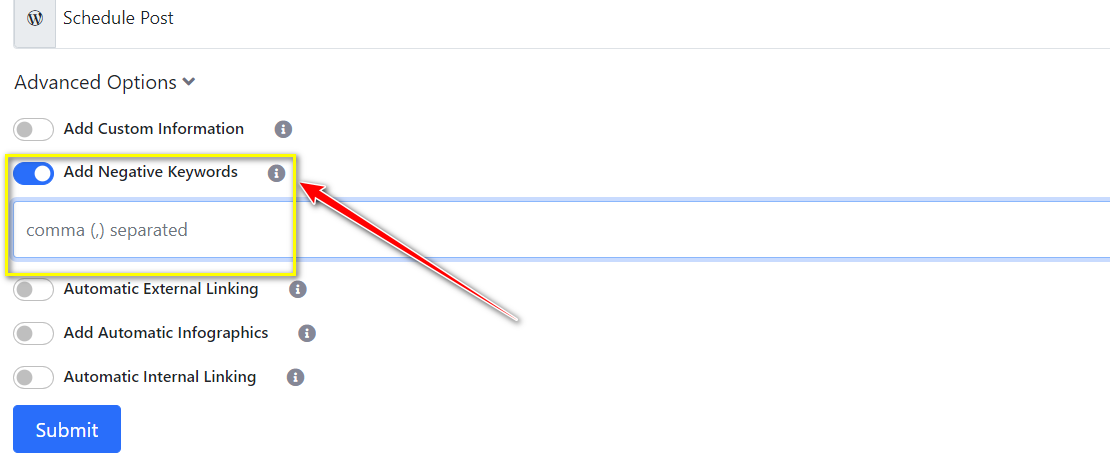
Add Negative Keywords: Add any keywords you want to avoid in the article.
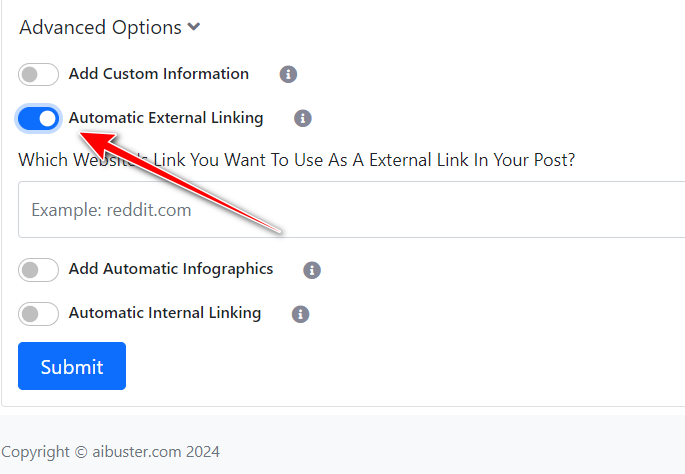
Automatic External Linking: Provide the URL of the relevant website you want to add as an external link, e.g., reddit.com, wikipedia.org, or quora.com.
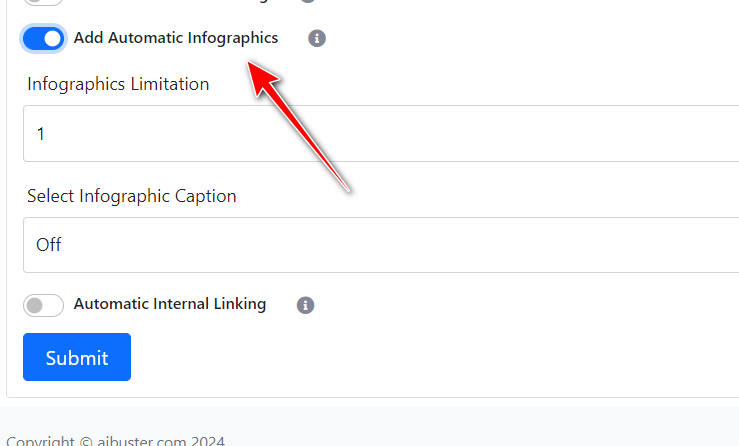
Add Automatic Infographics: Turn on this option to add 1 or 2 infographics automatically to your article.
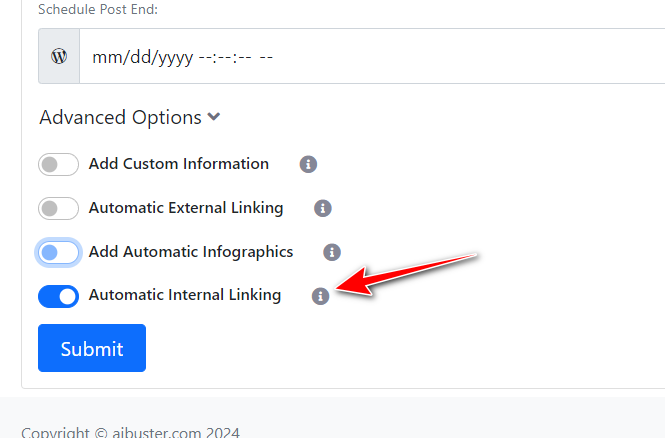
Automatic Internal Linking: Turn on this option to add internal links to relevant posts on your website. For this to work, your site needs to have a sufficient number of relevant articles.
Step 24: Finally, click on ‘Submit’ to generate your custom article.
