For a custom outline, AI Buster could be your first choice. The custom outline feature of AI Buster allows you to present a regular article in a more appealing way. It is very easy to use, so a user can operate it effortlessly. By using all the options of the custom outline, you can present any article in your own style.
Here’s a step-by-step guide on how to write an article using the custom outline:
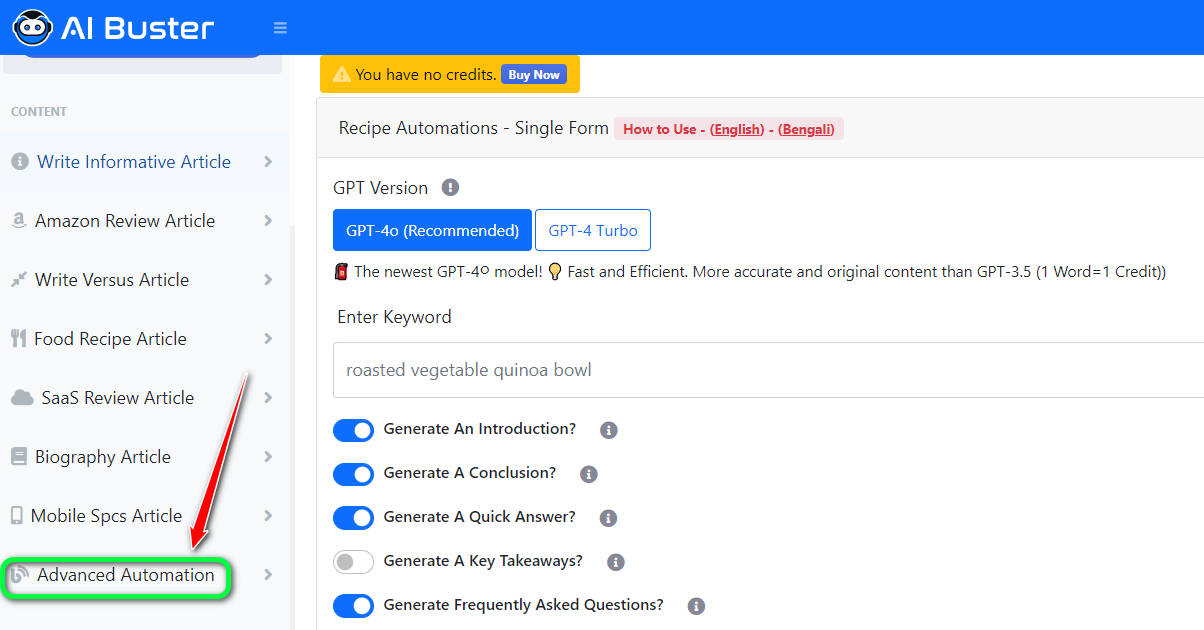
Step 1: First, from the AI Buster dashboard, click on any format under Content. For this example, we’ll click on “Advanced Automation.”
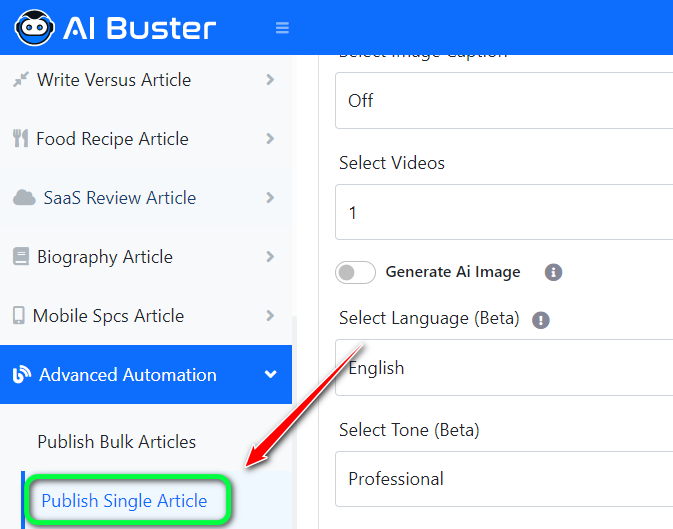
Step 2: From “Advanced Automation,” you can generate bulk or single articles. Click on “Publish Bulk Article” or “Publish Single Article,” depending on your preference. For this example, we’ll click on “Publish Single Article.”
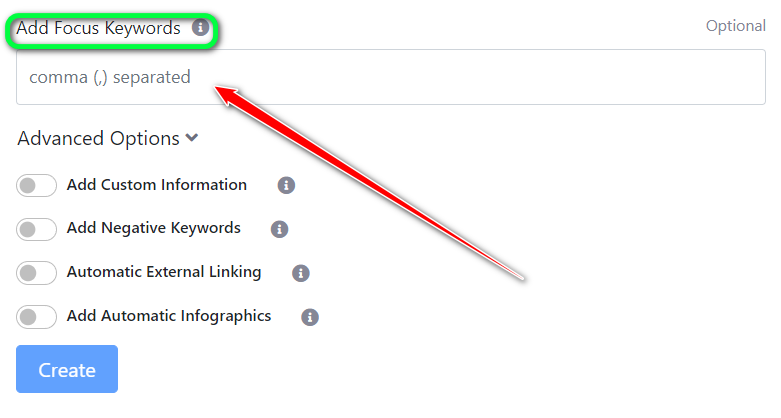
Step 3: Add Focus Keywords: Add the keywords you want to focus on in your article. Adding focus keywords will optimize your article further, giving it higher priority with Google.
Add Entities: For adding entities, you need to know what entities are or which words are entities for your article. You can easily find this out with the help of ChatGPT.
For instance, if your focus keywords are “How to make money online, Earn money online,” you can use ChatGPT to determine that entities like “Upwork, Fiverr, Freelancer, Toptal, eBay, Etsy, Amazon, YouTube, Medium, Patreon” are relevant. You can then add these words to the “Add Entities” box to write a well-optimized article.

Step 4: Advanced Options: AI Buster’s advanced options include many features that allow you to generate custom articles with a custom outline. Below is an explanation of each step in the advanced options:
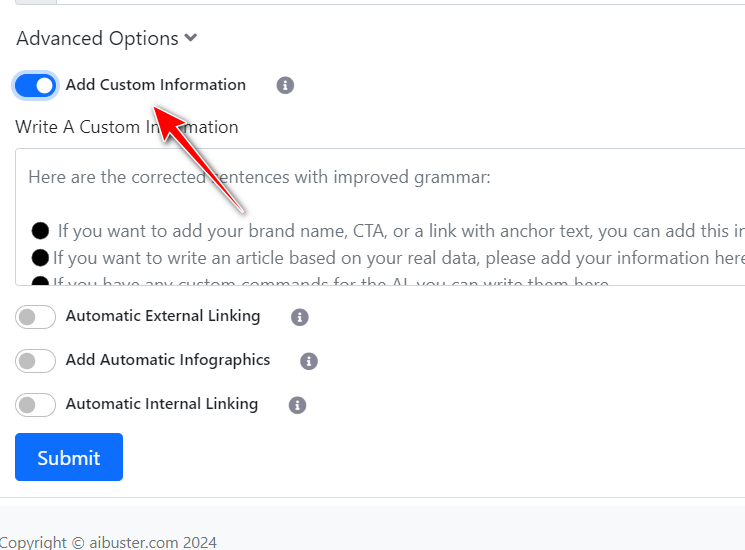
Add Custom Information
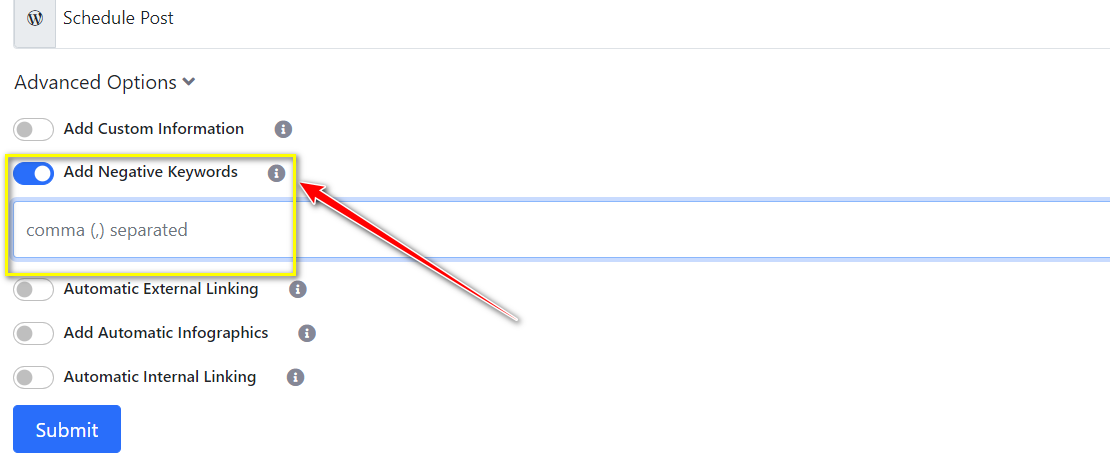
Add Negative Keywords: If you want to input any information beforehand that will be included in the article, or if you want a brand name or a specific sentence to appear in the article, add it in the Custom Information box. Detailed documentation is available for this.
Add negative keywords
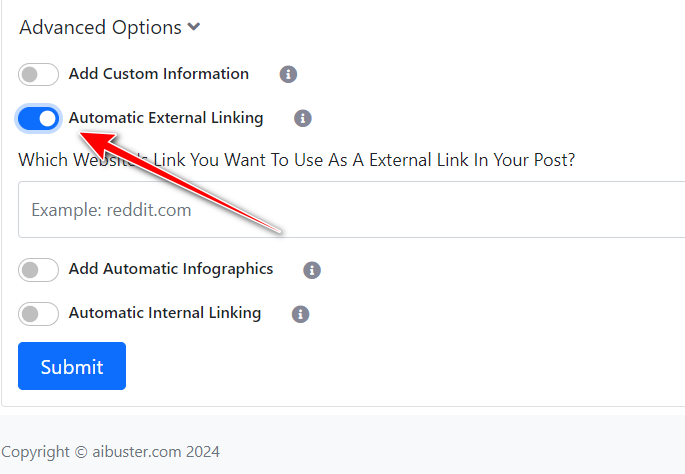
Automatic External Linking: Just provide the URL of the relevant website (without https) you want to add as an external link, e.g., reddit.com, wikipedia.org, or quora.com.
Automatic External Linking
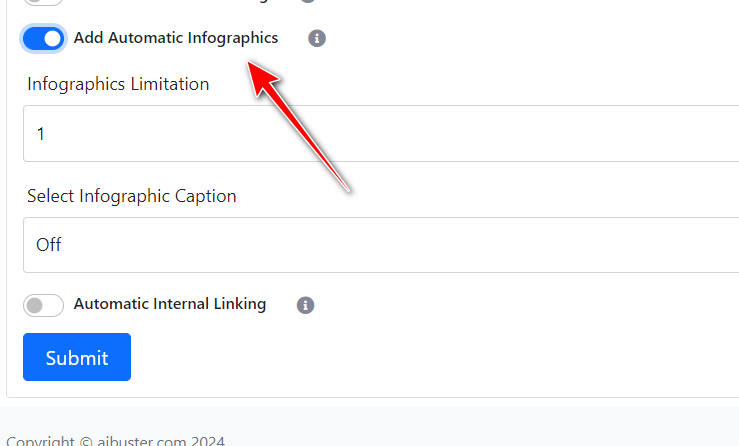
Add Automatic Infographics: Turn on this option to automatically add 1 or 2 infographics to your article.
Add Automatic Infographics
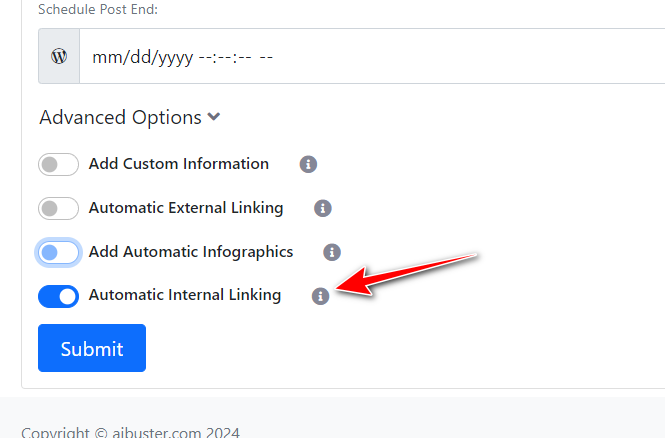
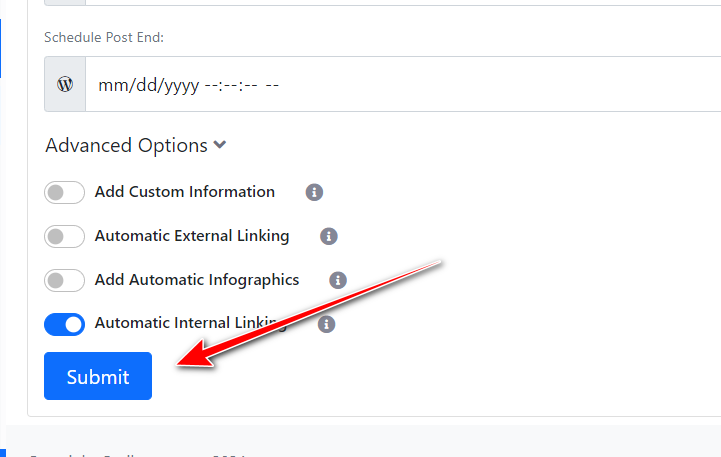
Automatic Internal Linking: Turn on this option to automatically add internal links to relevant posts on your website. For this feature to work, your website needs to have a sufficient number of relevant articles.
Automatic Internal Linking:
Turn on this option to add internal links to relevant posts on your website. For this to work, your site needs to have a sufficient number of relevant articles.
Step-21: Submit: Finally, click on ‘Submit’ Generate Single Articles.
Our steps for Single Articles are almost the same as the ones mentioned above. Below, we will show the features that work only for Single Articles.


