WordPress blogging or Shopify Ecom store, a large amount of blogs will always bring great traffic and sales.
But creating such a big blog site comes with a huge price tag. For that, AI comes in handy to quickly generate bulk content at a minimal cost.
By AI, we’re talking about ChatGPT. You can generate multiple blogs super quickly, utilizing custom prompts for your niche content.
You can simply publish ChatGPT content in your WordPress autoblogging site to generate traffic. Similarly, Shopify e-commerce stores with blogs will help you boost sales.
Now, autoblogging on WordPress and Shopify with ChatGPT has a lot of moving pieces. And we’ll help you bring everything together.
In this guide, we’ll explore how to generate blogs to putting results together and publish for autoblogging.
Buckle up, and let’s get started!
How Chat GPT Boosts Auto Blogging – Simplified
Chat GPT, powered by open AI’s API, is a handy tool for effortless auto blogging. It leverages AI technology to create top-notch articles aligned with Google’s SEO standards.
Here’s a simple guide on using Chat GPT for auto blogging:
WordPress Autoblogging With ChatGPT (Step-By-Step Guide)
Alright, let’s chat about setting up your own WordPress Autoblogging site with the help of our AI buddy, ChatGPT.
Imagine having a blog that writes articles on its own, thanks to artificial intelligence magic! Now, let’s embark on this adventure step by step:
1. Initial Configuration:
Install the WordPress application on your designated hosting account, serving as the foundation for your website.
2. Personalization:
Personalize the WordPress dashboard settings, including elements such as the site title, tagline, and timezone, to establish a distinct and recognizable online identity.
3. Plugin Integration:
Enhance the functionality of your website by installing essential plugins. These may include an AI engine to integrate ChatGPT, Elementor (both free and pro versions), and Yoast SEO. Activate all installed plugins to ensure optimal performance.
Or,
If integrating apps seems too complicated (which is true) then you can just manually input your prompts into ChatGPT. Then you can create a doc, paste all the results ChatGPT gave you, and then paste them together to create a blog on your website.
4. API Key Connection:
Establish a connection between the AI plugin and ChatGPT by providing the necessary API key. This fosters a collaborative environment between your website and the AI writing tool.
5. Content Organization:
Within the “Posts” section, create distinct categories to effectively organize your blog content. Select topics that resonate with your personal interests and hold potential appeal to your target audience.
6. Title Generation:
Leverage the AI plugin to generate catchy and engaging titles for your blog posts with the assistance of ChatGPT. Save the titles you deem most suitable as drafts for future use.
7. Content Creation:
Within the AI plugin, select a preferred draft title. This prompts ChatGPT to generate the corresponding article content.
Edit the generated output as needed, incorporate relevant visual elements and links, and optimize the content for search engines using Yoast SEO.
8. Website Design:
Select the “Hello Elementor” theme within the “Appearance” section to establish the visual style of your website. Employ customization options to personalize the theme to your preferences.
9. Template Development:
Utilize Elementor’s “Theme Builder” functionality to design custom templates for various website components such as the header, footer, individual blog posts, and archive pages.
10. Publishing and Management:
Activate your designed templates, assign them to your website, and utilize Elementor within the “Reading” settings to create your homepage and dedicated blog page.
Your WordPress autoblogging site, powered by ChatGPT, is now fully operational. Employ the AI Engine plugin to generate ongoing content and publish automatically at preset times.
Shopify Autoblogging With ChatGPT (Step-By-Step Guide)
Shopify Autoblogging with ChatGPT helps you automatically create and publish content to enhance your SEO, attract more visitors, and boost conversions.
Here’s how to do Shopify Autoblogging with ChatGPT:
1. App Integration:
Start by installing a Shopify application that easily integrates with ChatGPT. Apps like Yodel, WilfieGPT, and Lexicon facilitate smooth collaboration.
These apps allow you to harness ChatGPT’s capabilities for generating product descriptions, blog content, and catchy social media captions.
If you don’t want to use an app, you ca always input prompts and copy them all to your blog manually. This will take a lot of time, but will be a lot cheaper to do.
2. Topic Selection:
Identify a suitable topic or keyword that underpins your desired blog post. Utilize online tools like Google Trends or AnswerThePublic to discover popular niches within your specific niche.
3. Content Generation:
Employ the application’s interface to input your chosen topic or keyword. Subsequently, the application, in collaboration with ChatGPT, will generate a corresponding blog post.
In the tools, you are granted the flexibility to customize the content’s tone, style, and length to align with your preferences.
4. Check and Edit Your Content:
Before publishing, carefully review and edit the generated content. Take note that ChatGPT isn’t perfect. So, give a closer look for accuracy, grammar, spelling, and readability.
If you want, you can also add images, videos, and useful links to make the blog posts more engaging and informative.
5. Publish The Blogs:
Publish the completed blog post on your Shopify store. To broaden your audience reach and generate increased website traffic, consider sharing the post on your social media platforms.
The process is now complete! You have successfully established a Shopify blog post utilizing ChatGPT. Phew! That was a hell of a task!
Speed Up WordPress & Shopify Autoblogging With AI Buster
What if you have to publish hundreds of blogs per month to your site? Doesn’t seem much ‘Autoblogging’ when you have to generate each article that takes a lot of time, right?

In that case, there’s a better way to do this. You don’t even have to manually input those prompts and everything.
Especially, when you don’t even know what should be the prompts, as you’re not the best writer in the world.
We’re talking about the best AI writer in the industry – AI Buster.
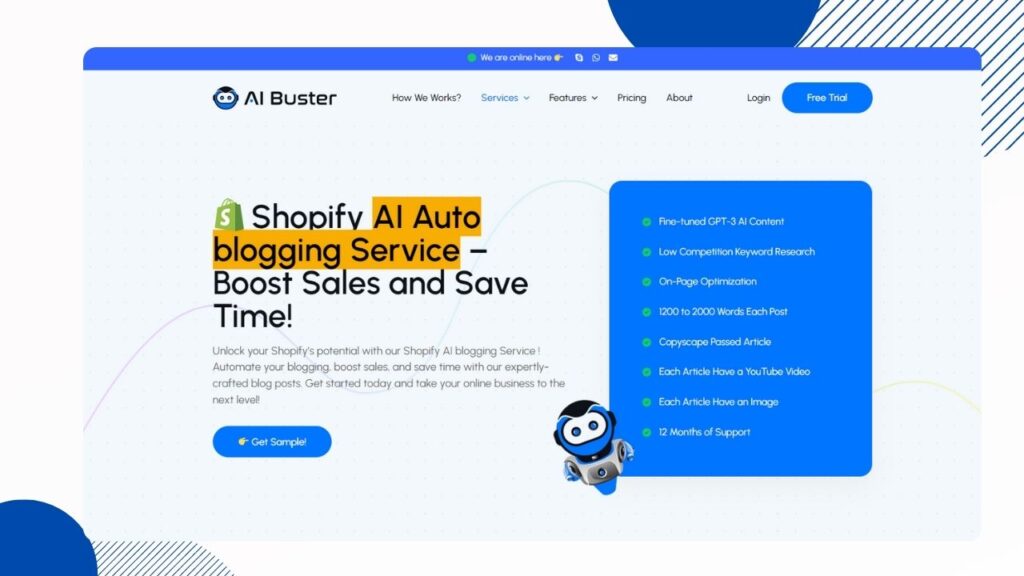
Ai Buster is the best alternative to ChatGPT for WP and Shopify autoblogging. It uses advanced Open AI technologies (GPT-3.5 and 4) with its own algorithm and other useful features to speed up the process.
Here’s why we recommend AI Buster for autoblogging:
If you don’t want to undergo those aforementioned hassling steps of WordPress and Shopify autoblogging, and save time on content production, switch to AI Buster.
With AI Buster, WordPress and Shopify autoblogging is super easy! All you need is to connect your WordPress site or Shopify store with AI Buster.
Moreover, AI Buster is affordable, where you can start your trial for as low as $1. This means, you don’t even have to worry about the budget. So, What’s holding you back?
Frequently Asked Questions
Why use ChatGPT for WordPress autoblogging?
Well, ChatGPT provides several benefits for WordPress autoblogging. Here’s why:
1. Save time and fight writer’s block with automatic content drafts.
2. Boost SEO by including relevant keywords effortlessly.
3. Maintain a consistent brand voice through customization.
How is Shopify autoblogging with ChatGPT different from WordPress?
In Shopify, autoblogging involves using apps that integrate with ChatGPT. These apps are tailored for product descriptions, social media captions, and blog posts within Shopify.
Can ChatGPT personalize my Shopify product descriptions?
Yes! Many Shopify apps work with ChatGPT, letting you use its smarts to create unique descriptions. Just give the app info about your product, who you’re selling to, and the vibe you want, and ChatGPT does the rest, making sure each description stands out.
How to set up WordPress autoblogging with ChatGPT?
While there’s no direct built-in method, you can use third-party plugins. You can use these plugins to connect to ChatGPT’s API. It will allow you to generate content by providing prompts.
Is AI-Generated content unique and plagiarism-free?
Wondering if the stuff ChatGPT whips up is all original and plagiarism-free? Although it does its best to be unique, it’s smart to use tools like Copyscape to double-check. Take a quick look to make sure it matches your brand’s style and doesn’t sound too much like something already on your site. Better safe than sorry, right?
Conclusion
There is no doubt that ChatGPT is a super useful tool that’s growing fast and helps people worldwide in many different fields.
It’s awesome at creating top-notch content, making it great for all sorts of things on your website. But, remember, ChatGPT is just a tool.
Like any tool, it works best when used responsibly. While it’s good at making content, it’s still important to double-check and make sure everything sounds just right.
The key is finding the right balance between using AI help and adding your own creative touch. In this way, your content becomes interesting, informative, and totally unique to your brand.
Lastly, using AI Buster for WordPress and Shopify autoblogging can really simplify making content for your website. Use its powers wisely to save time, and boost your site’s visibility.


